• Home
  • FAQ’s
  • Contact
    • About Me
    • Policies
      • Privacy Policy
      • Disclaimer Policy
      • Terms & Disclosures
  • Privacy Policy
  • Terms & Disclosures
    • Facebook
    • Google+
    • Instagram
    • Pinterest
    • Twitter
    • YouTube

Blooming Homestead

  • Gallery
  • DIY/Crafts
  • Home Decor
  • Recipes
    • Breads
    • Desserts
    • Dips/Appetizer
    • Main Dishes
    • Soups/Sandwiches
  • printables
  • holidays
    • Valentines
    • St. Patrick’s Day
    • Easter/Spring
    • 4th of July
    • Halloween
    • Fall/Thanksgiving
    • Christmas
  • Organization
    • Home Binder Printables
    • Printable Calendars
    • Cleaning Tips & Tricks
    • Organization Tips

DIY Stenciled Photo Box

in DIY/Crafts, sponsored on 24/09/14

This is a sponsored post from FolkArt, Plaid, and Blueprint Social. I received materials and compensation to create a project. All opinions are my own.

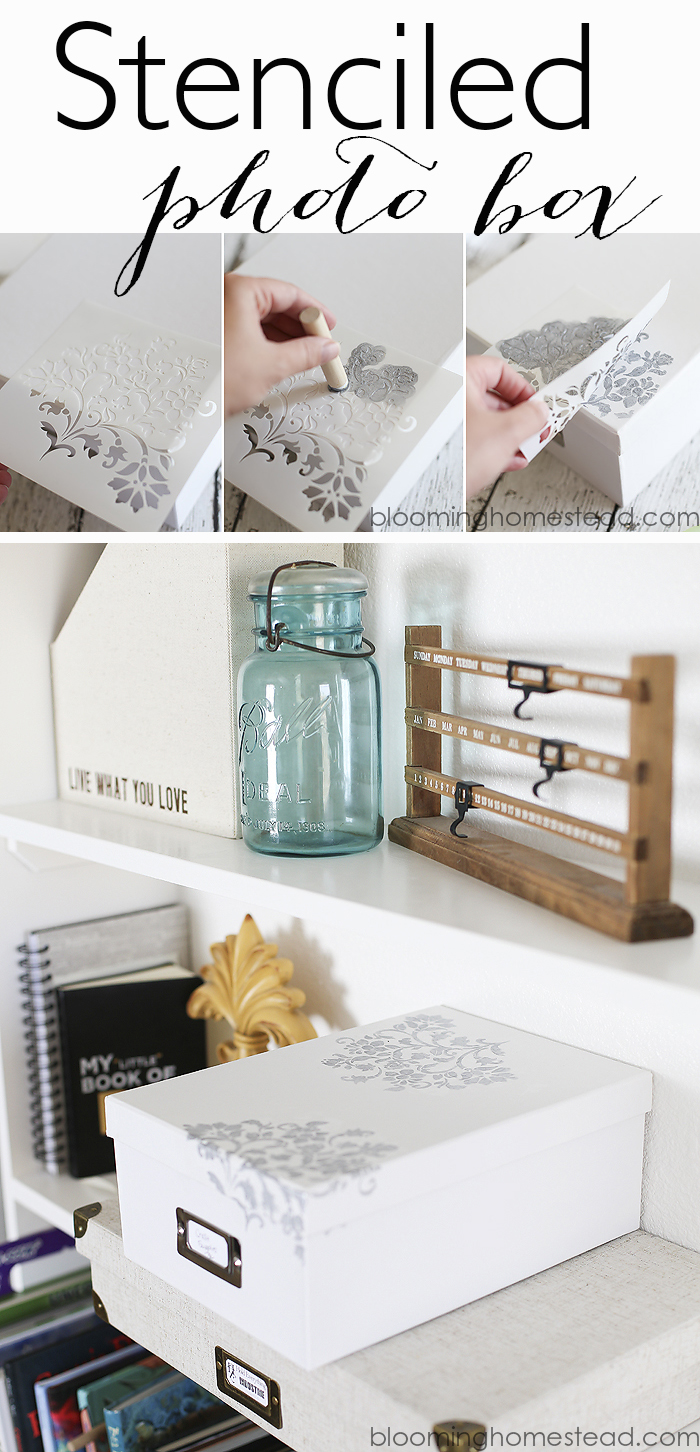
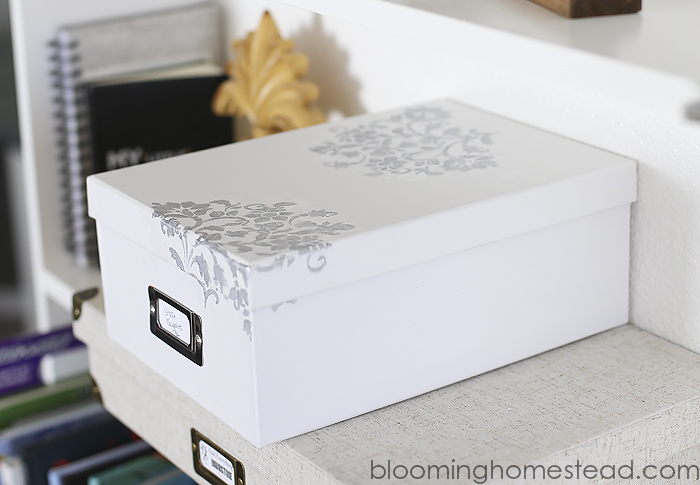
Since we finally finished our bonus attic room above our garage this past Spring, I have been searching for the perfect decor for our home office. Not only did I want the decor to be cute and stylish, but I also wanted to have functional office space with lots of storage. We built in some bookshelves in the room and I am loving at the addition of photo boxes to help with storage and reduce clutter. Thanks to FolkArt Stencils & Paints I was able to transform some of my bland white photo boxes into stylish accent pieces.

DIY Stenciled Photo Box

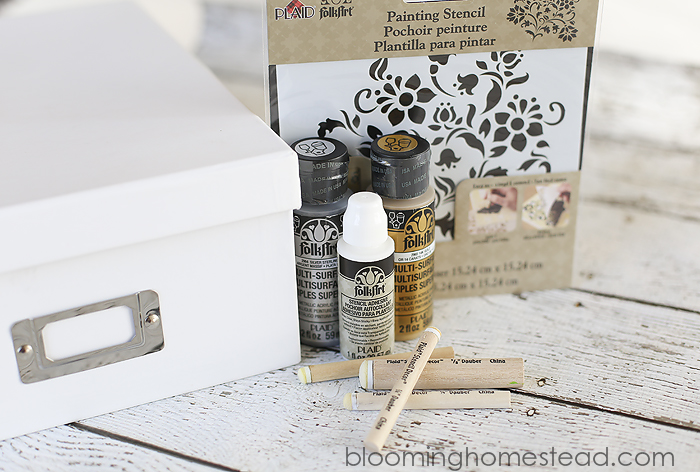
 Here are the supplies I used:

  • photo box
  • FolkArt painting stencil
  • metallic paint
  • stencil adhesive
  • daubers

Find FolkArt® stencils, paint and more at Michaels

Stencil

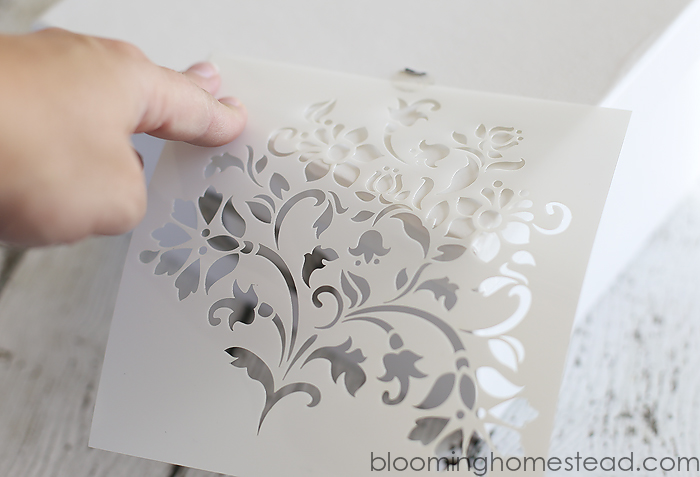
First off I tested out where I wanted my stencil to go before I added the adhesive.

DIY Stenciled Photo Box

After finding where I wanted to place the stencil I turned it over and applied the stencil adhesive to the back of the stencil. This stuff was great and kept the stencil in place the whole time I was painting.

DIY Stenciled Photo Box

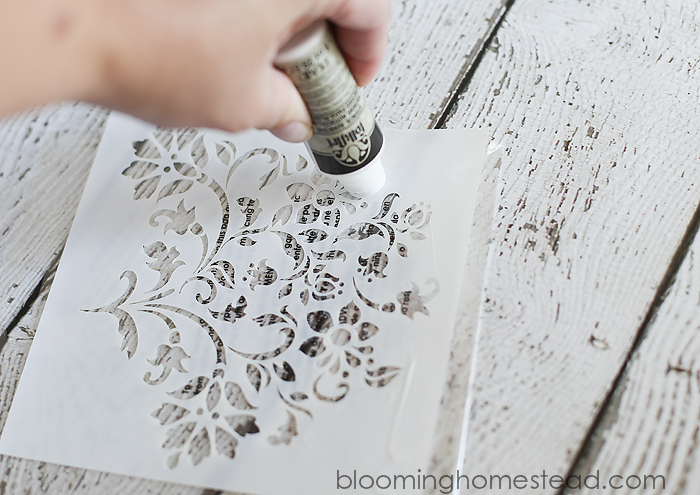
 When you’ve got the adhesive ready you can place your stencil on the photo box and start painting.

DIY Stenciled Photo Box

I peeled off the stencil while it was still wet, wiped it down a little, and repositioned it on another area of the photo box for more stenciling. Once your done stenciling, let your paint dry and you will have a custom DIY Stenciled Photo Box as the perfect accent piece.

DIY Stenciled Photo Box

 DIY Stenciled Photo Box

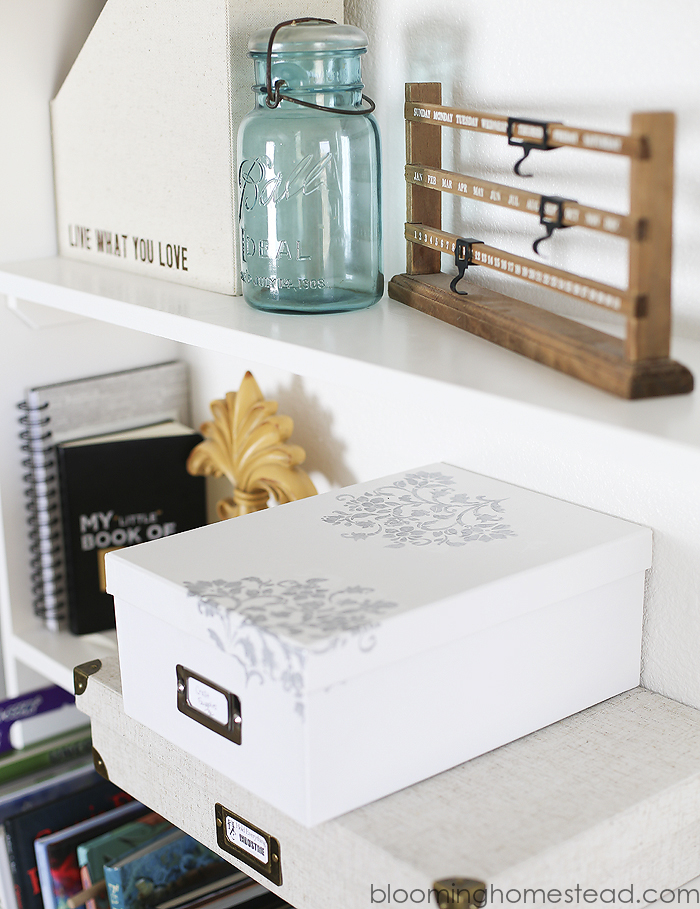
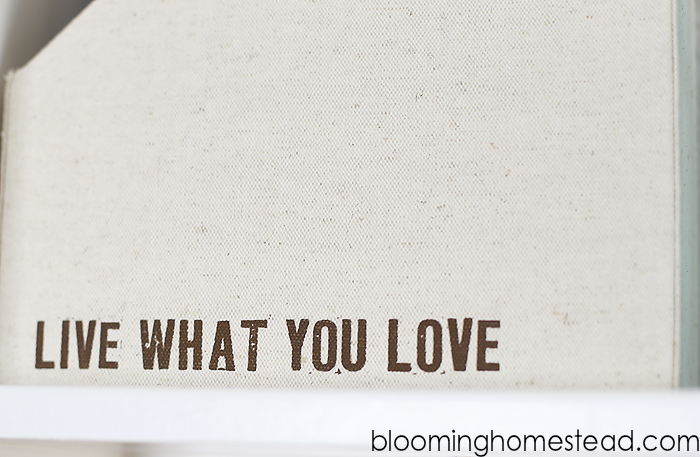
Here are a few more other details that brought the bookshelf together:

stencil7

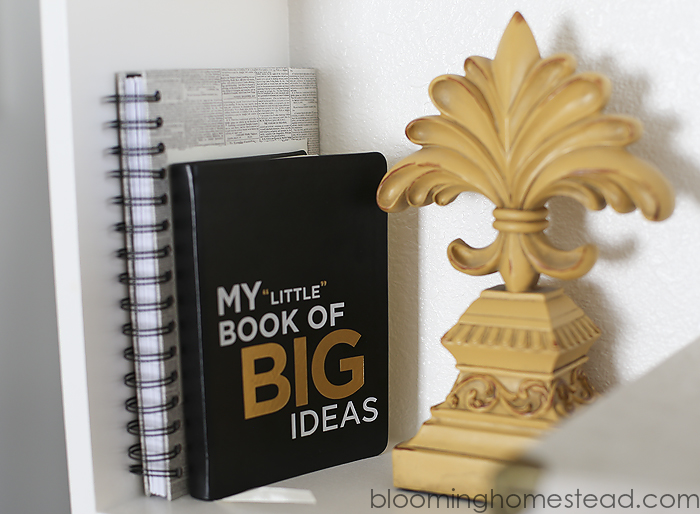
and I love this typography!

stencil8

I cannot wait to show you my full office reveal, we just ordered our custom desk and are assembling it as we speak!

Check out more:

  • Check out The Plaid Palette blog
  • Sign up for their  newsletter
  • Follow on Pinterest
  • Like Plaid on Facebook
  • Follow on Instagram
  • Follow on Twitter
  • Watch Plaid on YouTube
  • Follow Plaid on Google+

I link to these parties here.

16 Comments

About Marie

Marie is the author of Blooming Homestead and loves to share her latest home decor ideas, crafts, recipes, home organization tips, and diy projects.

« Halloween Wreath
Handmade Teddy Bear Costume »

Comments

  1. Erin says

    September 26, 2014 at 10:13 am

    Did you stencil on the magazine holder? I love this.

    Reply
    • Marie says

      September 26, 2014 at 11:39 am

      Hi Erin, I actually bought it that way on sale from Marshalls but you totally could!

      Reply
  2. Leigh Anne says

    September 29, 2014 at 7:47 am

    Such a pretty little box now! Thanks for sharing at Link It or Lump It this week 🙂

    Reply
  3. Daphne says

    September 30, 2014 at 1:30 am

    What a great idea to decorate a paper box like this. It’s really pretty!

    Reply
  4. Michal says

    September 30, 2014 at 7:37 am

    What a beautiful idea! I am also in the process of organizing my office and this is a great idea to make my boxes look better 🙂

    Reply
  5. Alison says

    September 30, 2014 at 10:31 pm

    I love this idea! It would make an amazing wedding or baby shower gift!

    Reply
  6. Liz @ Liz on Call says

    October 2, 2014 at 10:49 am

    The box is beautiful! Thank you for linking up to the Creative Exchange. I always love seeing what you’ve been up to! 🙂

    Reply
  7. Cindy Jenkins says

    October 3, 2014 at 4:24 pm

    That looks super nice! Very classy! I found you on Salt and Pepper Moms linky. 🙂

    Reply
  8. Kimberly says

    October 4, 2014 at 5:59 pm

    This turned out so good! Pinned. Lou Lou Girls

    Reply
  9. Kyla @HouseOfHipsters says

    October 4, 2014 at 9:49 pm

    What a pretty pretty box! Found you on the Natasha in Oz link up party =)

    Reply
  10. Mandee Thomas says

    October 7, 2014 at 11:03 am

    Simple and pretty—love it! Thanks so much for sharing at the Create & Share Link Party. Hope to see you again tonight (7:00 PM MST)! http://designsbymissmandee.blogspot.com/

    Reply
  11. Ginger says

    October 9, 2014 at 1:49 pm

    So pretty and a great inexpensive way to dress up your photo box to make it your own! Thanks for linking up to Show Me Saturday! I hope to see you there this week.

    Reply
  12. Natasha in Oz says

    October 9, 2014 at 9:22 pm

    Thanks for sharing your post at the Say G’day Saturday Linky Party. I’ve just shared this on Pinterest/Facebook/Twitter.

    Hope you can link up with us again this Saturday!

    Best wishes,
    Natasha in Oz

    Reply

Trackbacks

  1. Simple Home Decor Projects - Simply Designing with Ashley says:
    October 5, 2014 at 11:16 am

    […] Stenciled Photo Boxes […]

    Reply
  2. Create & Share DIY and Recipe Party {26} - A Simple Pantry says:
    October 7, 2014 at 8:51 pm

    […] Brown Butter Chocolate Chip Cookie Ice Cream Sandwiches || Candy Corn Pain Killer Cocktail || DIY Stenciled Photo Box || Caramel Popcorn Cake || Caramel Apple Dessert Pizza || Book Page Paper Pumpkin And here is […]

    Reply
  3. Fabulous DIY Projects | Party Time - livelaughrowe.com says:
    October 8, 2014 at 6:46 pm

    […] a Mom DIY Window Pane Mirror via A Diamond in the Stuff DIY Wood Towel Hooks via Craftivity Designs Stenciled Photo Boxes via Blooming Homestead How to Paint a Piano via Your Homebased Mom Anthropologie Knock-Off Frame […]

    Reply

Leave a Reply Cancel reply

Your email address will not be published. Required fields are marked *

Welcome! I'm Marie an avid crafter with a passion for home decor and organization! I am so glad you are here!

  • Facebook
  • Google+
  • Instagram
  • Pinterest
  • Twitter
  • YouTube

Popular Posts

Follow me on Instagram

[instagram-feed]
Friends of Pfister You blog. You Profit. Sign up for SocialSpark!
“Blooming Homestead is a participant in the Amazon Services LLC Associates Program, an affiliate advertising program designed to provide a means for sites to earn advertising fees by advertising and linking to amazon.com."

Copyright © 2022 · glam theme by Restored 316

Copyright © 2022 · Glam Theme on Genesis Framework · WordPress · Log in

  • Home
  • Privacy Policy