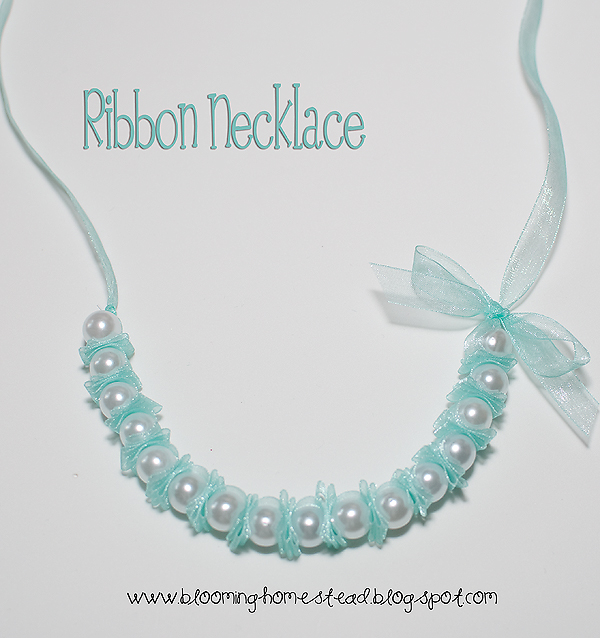
Today I’m sharing a tutorial on this fun and super easy Ribbon Pearl Necklace.
I am not a jewelry maker. Never have really made anything jewelry related before. However, I saw a necklace at the store like this and I loved it. I kind of thought, heck I can make that, and so thats what I did!
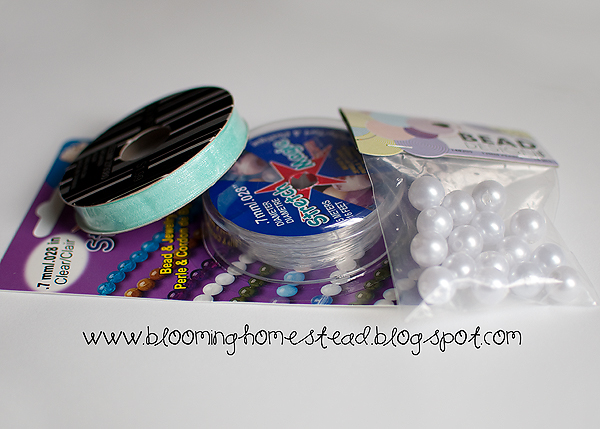
I went to Hobby Lobby and bought ribbon, pearl beads, and cord. I first measured the ribbon around myself to determine the length of where I wanted it to hang. Then I doubled that so I would have plenty of room to make the ruffles in between the beads. I also cut a length of cord, probably like 15 inches which was more than plenty for me.
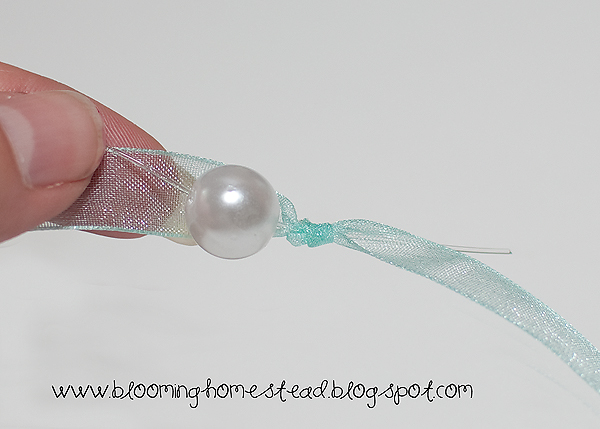
At one end of the ribbon, I roughly went in about 6 -7 inches, put the cord by it and tied them both in a knot together to start my beading. After the knot, I added a pearl on the cord only.
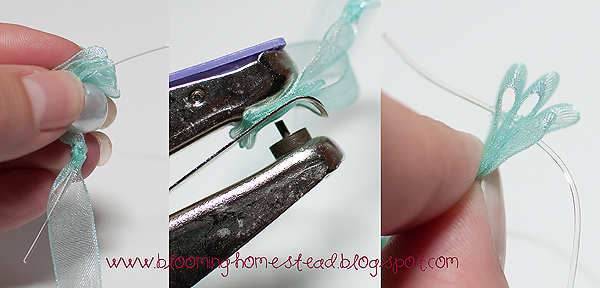
While keeping the cord and pearl tightly in place, I wrapped around the ribbon with my other hand and folded it over and back 3 times to make sure the ribbon would be in the same direction of the beads. At this point, I used my craft punch to make a hole using my 1/16″ hole punch, in all layers of the folded ribbon keeping the folds tightly in my hand.
(You could probably use a needle of some sort to thread the cord through the ribbon and pearls, but the center of my beads were a little narrow so I did it without a needle)
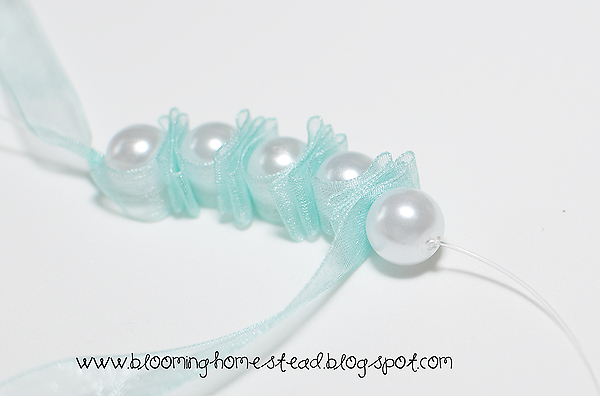
Then I continued the cord by threaded it through the ribbon and drawing it tightly around the bead. I then added another bead, and followed it with the ribbon ruffle again. Occasionally I would tie a knot in the cording by the bead (where it would be hidden) to help keep things in place (hot glue would probably work too).
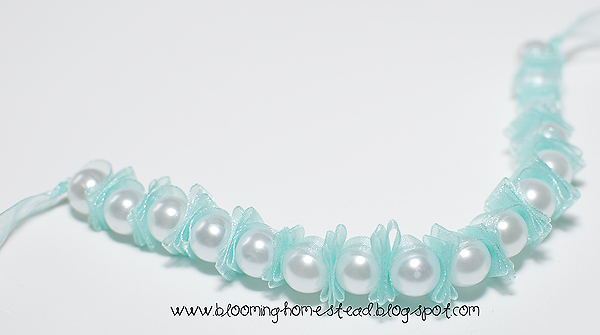
After I added the desired number of beads, I pulled it all tight and wrapped the ribbon around the final bead threaded through the cord (so it matches the other end) and I tied a knot in both. I may go back and add a small amount of hot glue under the knot to try secure the cord further, but it feels pretty secure. Then I tied the ribbon together in a cute bow at the beginning of the beading to finish off my necklace. I love how it turned out.
So feminine, and easy especially for us non-jewelry making folks! I plan to make a little fabric flower to add to it. I also made a bracelet to match!


Love this!!! So elegant yet so simple, thanks for sharing.
This is a really beautiful piece! You did a really fabulous job! Thanks for sharing Pearl necklace Related information at Show & Share!
this is great I am trying one today… thanks for sharing…
YOU ARE TRUEEEEEEEEEEE
I love this it is so sinmple and elegant. Thank you for sharing. I will certainly give it a try.
ITS REALLY OSM …… AND SO SIMPLEEEEEEEEEEEEEE………
Ty for sharing…my grandaughter’s 1st communion is coming up. What a better gift for a young girl.
You are so welcome! They do make great gifts.
Te felicito esta muy linda la idea, sencillo y elegante, que Dios te bendiga por compartir
l love it….so cute..so beautiful…i will make it…
so cute..so beautiful i love it…i will make it