Supplies:
(This post contains affiliate links)
- Faux Leather Vinyl- 2 1/2 yards
- plywood- 1 large piece for base depending on headboard size and one small one to cut edging.
- 1×2 common board for trim
- quilt batting
- 2″ foam-qty 2
- Spray adhesive
- Nailhead Trim Kit-I ordered 2 for my king headboard
- screws
- drill
- jigsaw
- heavy duty stapler
- hammer
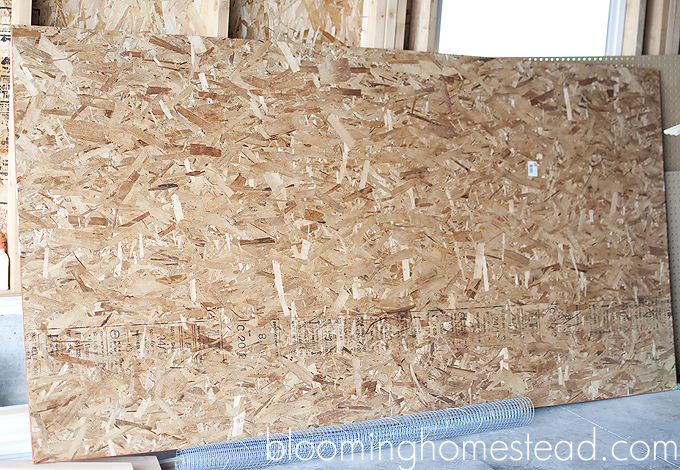
To start, I went to the fabric store and searched for fabric. I knew I wanted it white…but I was nervous about stains. I found a perfect faux leather made of white vinyl (which can be wiped and cleaned) and knew that it would be perfect. Next, I went to the hardware store and purchased plywood. (*I am using photos from both headboard projects so you will notice some variation in the type of plywood used)
 Wanting the corners in a cutout shape, I found a leftover sign in our garage that I cut to use as a template and traced it on the plywood. After tracing it out, I used my jigsaw and made the corner cuts to get the basic shape I was going for with my headboard.
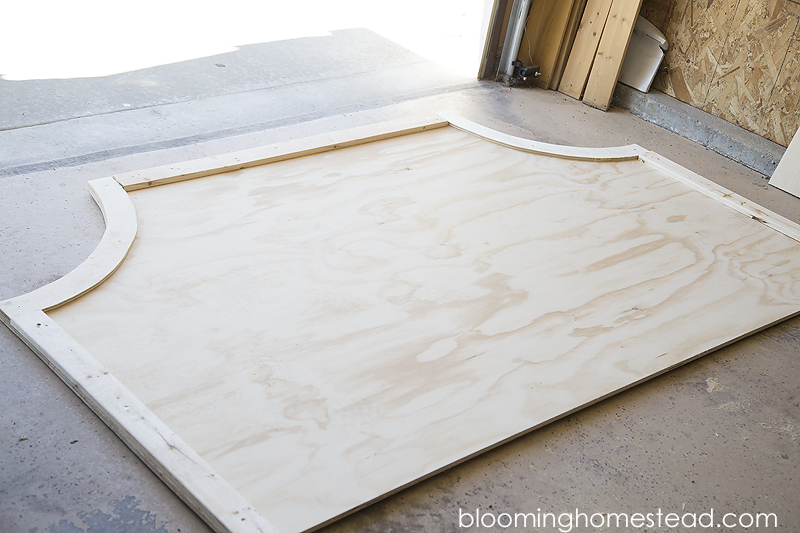
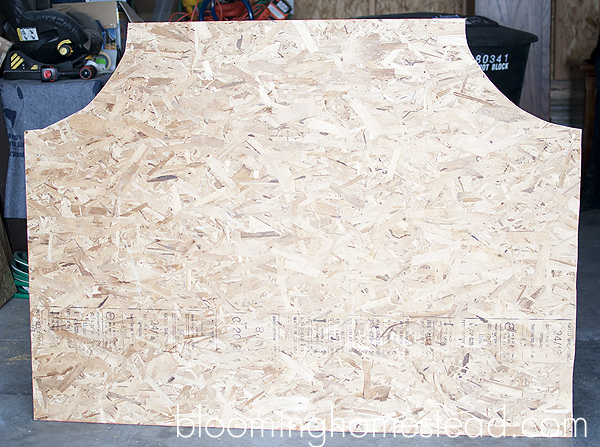 When you have the base of your headboard cut, its time to add the edging trim. This is where you will reinforce the nailhead trim. I used a couple pieces of common board cut along the top and sides. I then used the smaller 1″ thick piece of plywood to cut corner edge pieces with my jigsaw. When you have your pieces cut, you’ll secure them with screws.
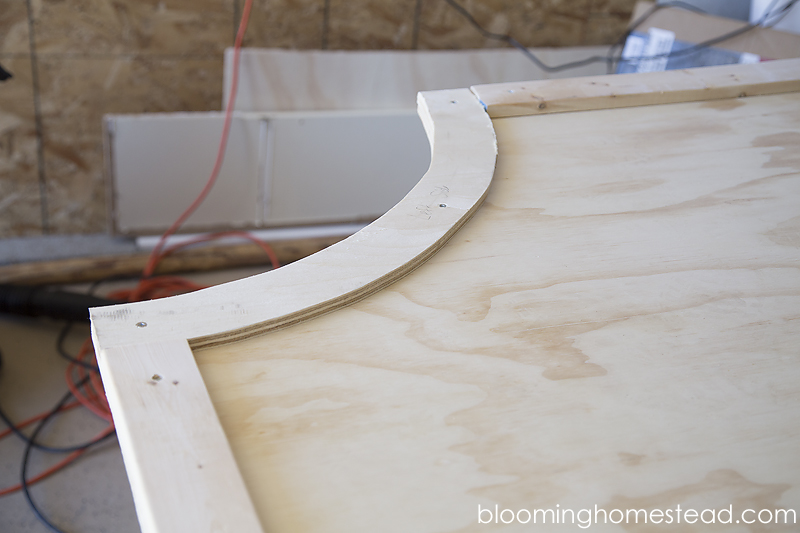
At this point I got my 2″ foam and cut it out to fit inside the border. I had to piece it around the corners. I attached it using spray adhesive to help it stick and stay where it needed to be.
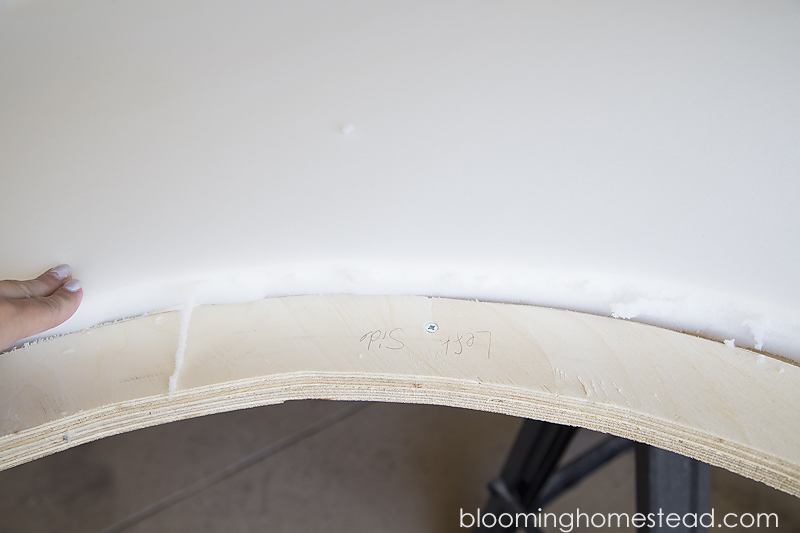
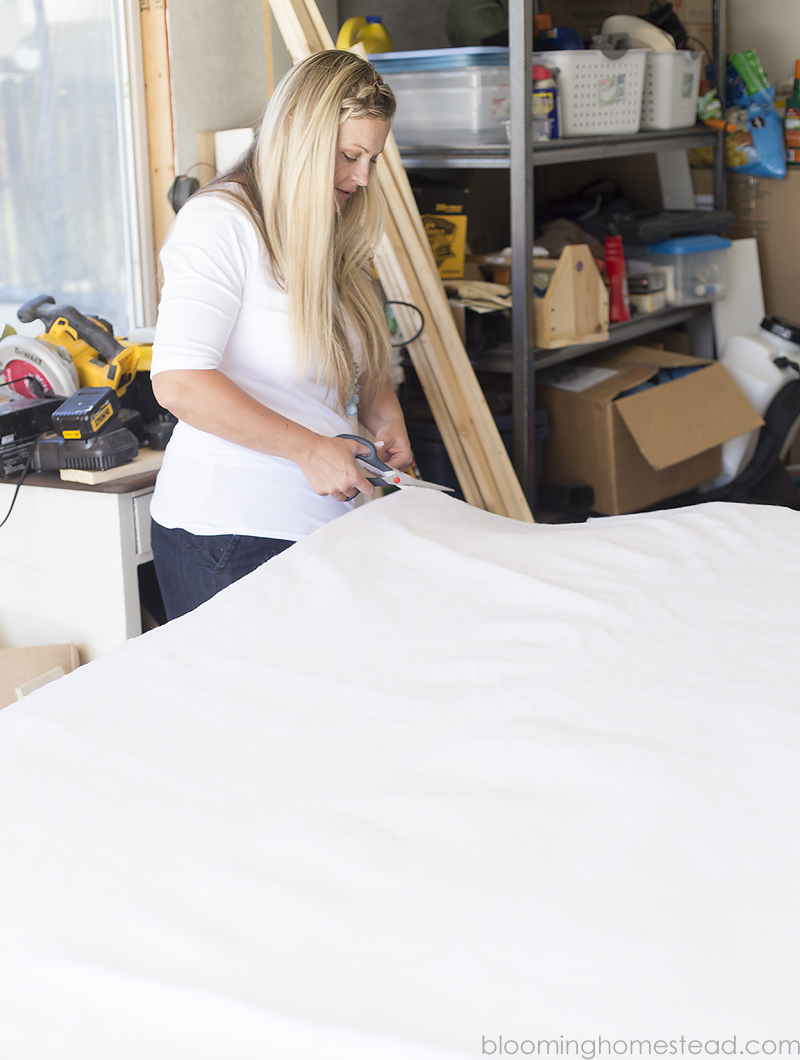
(Notice you make sure and leave your border uncovered.) This is so that you have something nice and sturdy to hold your nailhead trim in. Otherwise it won’t be able to stick past the foam. After the foam was placed, you’ll used low loft quilt batting to cover the entire headboard.
Click next to learn how to finish off the DIY Headboard.


Love this! It turned out so fantastic friend! xoxoxo
Thank you so much!~