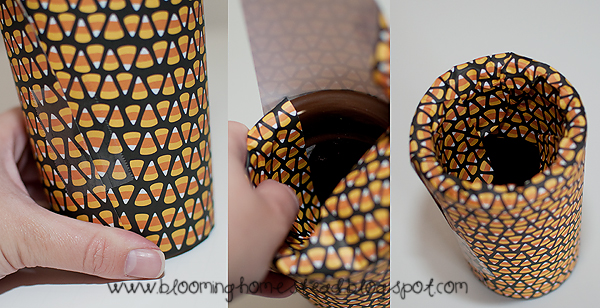
 I have been so busy this week with finishing up some Halloween projects, needless to say this month flew by! Anyways, I made a halloween bean bag toss game(I’ll post it soon), I also am making a posterboard pumpkin without a mouth for us to play “pin the mouth” on the pumpkin. We are also having a candy corn pumpkin hunt (found some cute little pumpkins at the dollar store to do this with last year). I made the centerpiece for my tablescape, I made my menu, I think now I just need to execute! Anyways, here is what I decided to do for my centerpiece of our spooky food table. My GOAL was to use stuff I had. So I went through my house and was looking for things I could use. I planned on just using a cool jar/vase, but size wise needed something larger so I found an old brown glass vase and this black candle holder and went with it. I really wished I had some purple ribbon to tie on, but I am out so I used what I had. Just imagine this with my banner I made, tissue balls hanging above, and the cupcake toppers and labels I made. Its gonna be so fun! Plus, I have tons of fun decor for our basement where we play our games and make it spooky!

Then I set it inside my candle holder and weaved ribbon in and out of the twiggy things sticking up. Tied it with a bow all pretty.
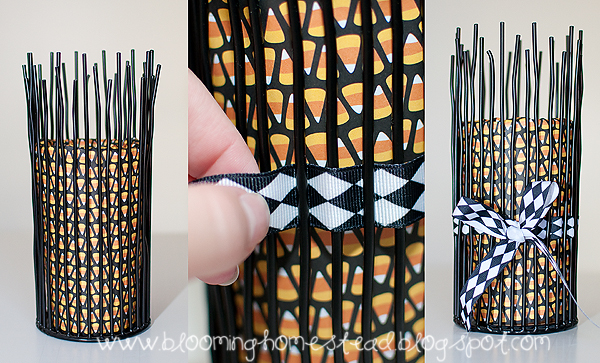
Then I went in the backyard, and thanks to storm this week I had my pick of the twigs and branches all broken off in the backyard. I picked some up and took out my trusty painting area (cardboard) :), and sprayed them flat black. It took a few rotations to get them covered.
Then I stuck them in the vase and was good to go! I think it will look cool with all my other things I am adding!


Leave a Reply