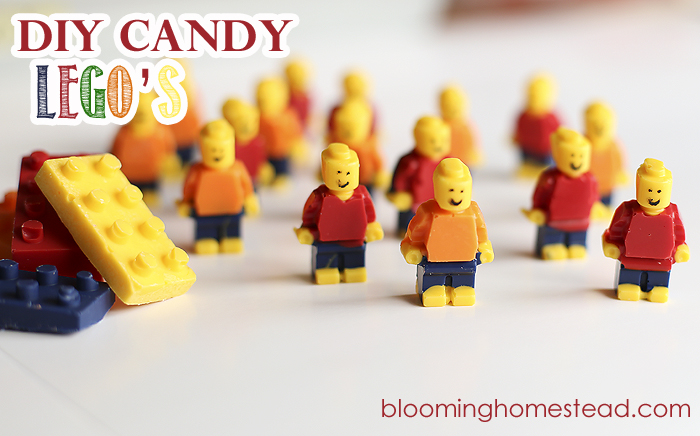
Today I’m going to show you how to make some awesome Edible Lego Candy. I came across some molds and knew these would be especially perfect for my Lego loving son. These are easy, fun, and edible!
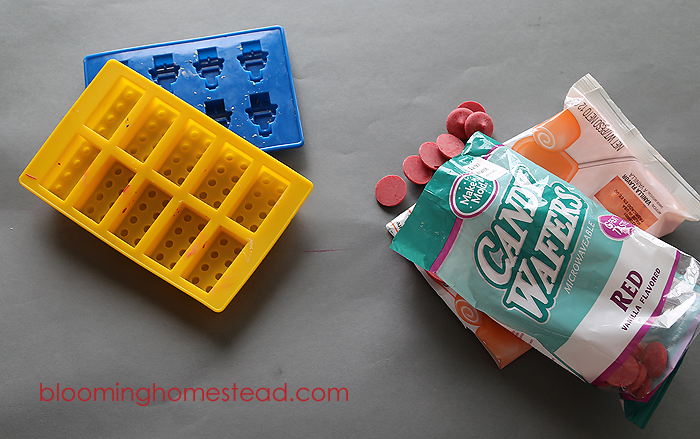
Supplies:
- Candy molds
- candy melts
- heat resistant piping bag(I used little decorator bottles from Pampered Chef)
- piping tip (opt)
- microwavable bowl
- spoon to stir
First up is to melt your candy melts.
- Put candy melts into microwavable bowl
- Heat in microwave for 30 seconds. take out and stir. Candy will melt the more you stir.
- Melt in 30 sec additional increments if necessary, always stirring in between. Do Not Overcook! It really only needs a couple of heatings and will do most melting while you stir. If you Overcook your chocolate will seize.

Now you’re ready to pour the melted candy into the molds. I Purchased the Candy Molds here. For the Lego mini figures, I just melted and poured each color separately. If you want them a solid color then you can just melt your candy and pour it all in at once. For me, I started with yellow for the head, hands, and feet. Next, I used orange and red for the upper torso and blue for the legs. This doesn’t have to be perfect, just try and keep the candy in its respective spots. ( it took me a little practice!)
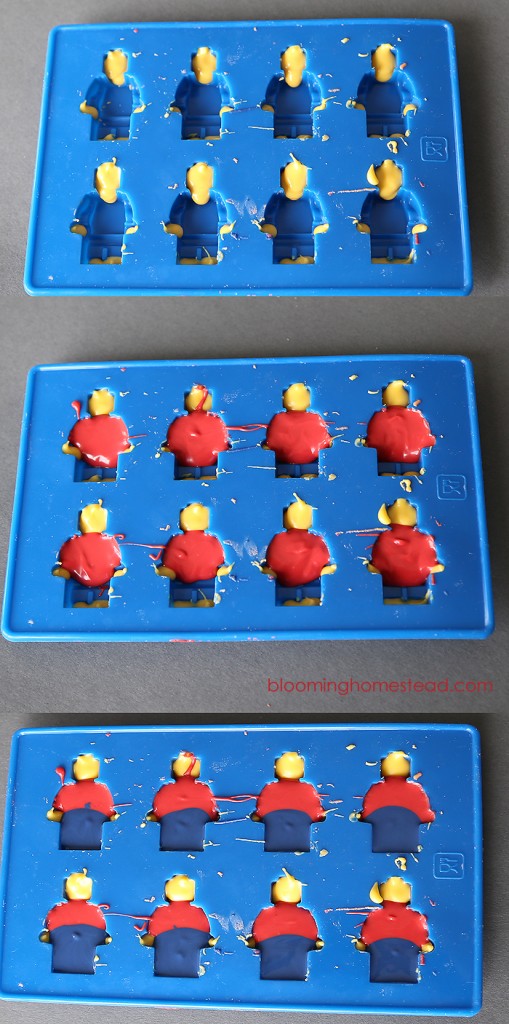
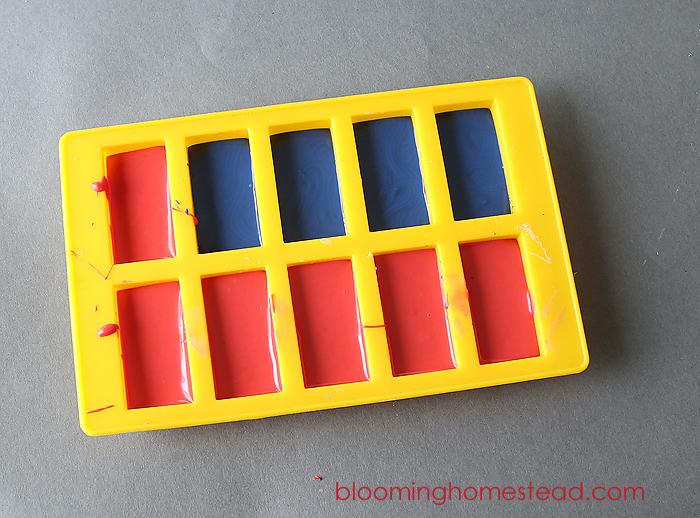
For the block I just used 1 color. I poured it in the mold and tapped the mold against the countertop gently to help prevent air pockets/bubbles. After you fill the molds, allow them time to set. (I put mine in freezer) after they are fully set they pop right out. Be careful not to break off the heads of the men, they are a bit delicate.
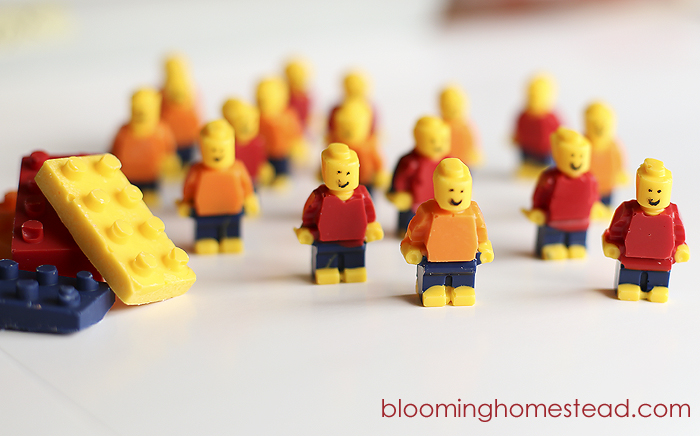
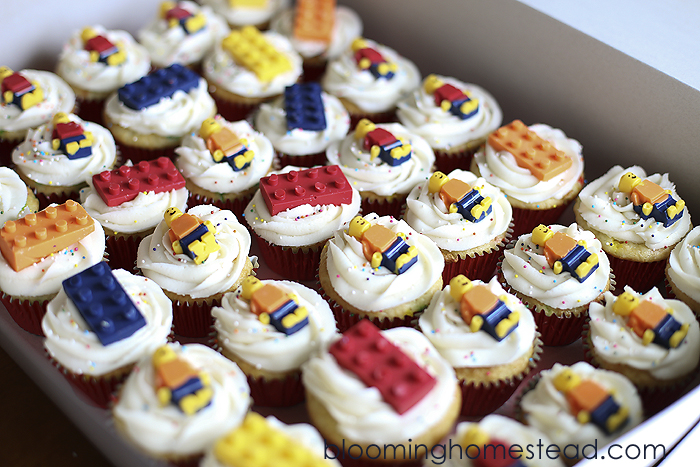
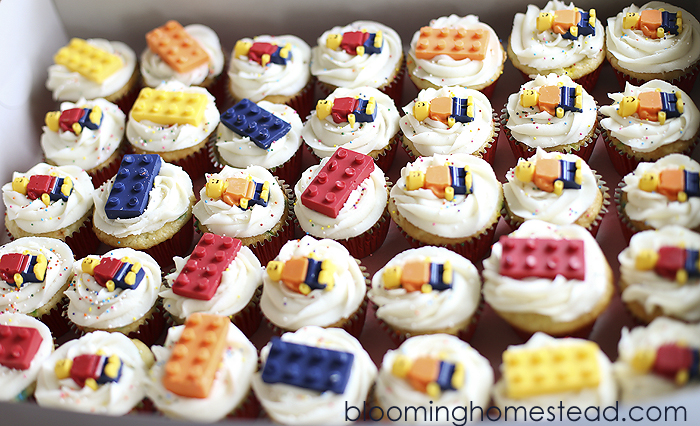
I used an edible marker to draw faces on the Lego mini-figures. Aren’t they the cutest? Here I used them to make my sons birthday cupcakes for school. Tomorrow I’ll share how I used them to make his Lego movie cake!
I join these fabulous link parties each week: I heart naptime, Under the table and dreaming, Not just a housewife, The Project Queen, , Sumos Sweet Stuff, The Kurtz Corner, Ginger Snap Crafts, Laugh, Love, Craft, Clean and Scentsible, Somewhat Simple, The Shabby Creek Cottage, The Shabby Nest, Tatortots & Jello, Simply Designing, Chic on a Shoestring, ,Someday Crafts, The Idea Room ,Between U and Me, Positively Splendid, Raising 4 Princesses , One Stop Shoppe, Its Overflowing, The D.I.Y. Dreamer ,Serendipity & Spice, Crafty blog stalker , CSI Project, 36th Avenue, Real housewives of Riverton ,The rustic pig , Clever Chicks Blog Hop , Skip to My Lou , Classy Clutter


These are so awesome!!! Everything is awesome!!! But seriously, Ben is so jealous!!
They really are awesome, and a lot easier than I thought they would be!
My boys would die if I made these!!! They’re OBSESSED with Legos right now. Thanks for sharing! Maybe I will make these as a surprise!
xoxo
You totally should. They were a huge hit (even with the girls!)
I HAVE TO make these for my son! LOVE IT! pinned, too! 🙂