Thanks so much to We R Memory Keepers for sponsoring this post. I was provided with product and compensation but all opinions are my own!
I’ve got a fun craft for you today. These DIY Backpack Tags are so fun and easy to put together using the Fuse Bundle kit. If you are unfamiliar with it, the Fuse is a heat tool that easily allows the user to easily create custom pockets and sleeves for use in sealing keepsakes, memorabilia, crafts and party decor. So awesome right? I have some big plans for this tool, but first lets check out how to create these tags. I’ve filmed a video tutorial with all the details for you!

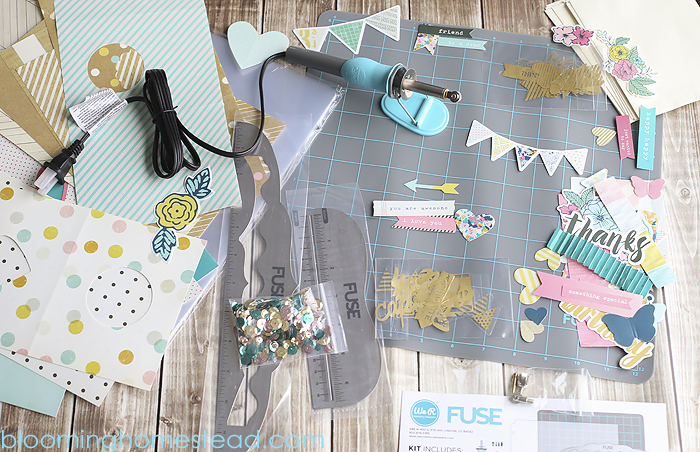
Here are the supplies you’ll need:
- We R Memory Keepers Fuse Bundle-available on HSN July 1st
- Paper with names printed out
- Cardstock or chipboard
- tape
- scissors
- hole punch
- keyring
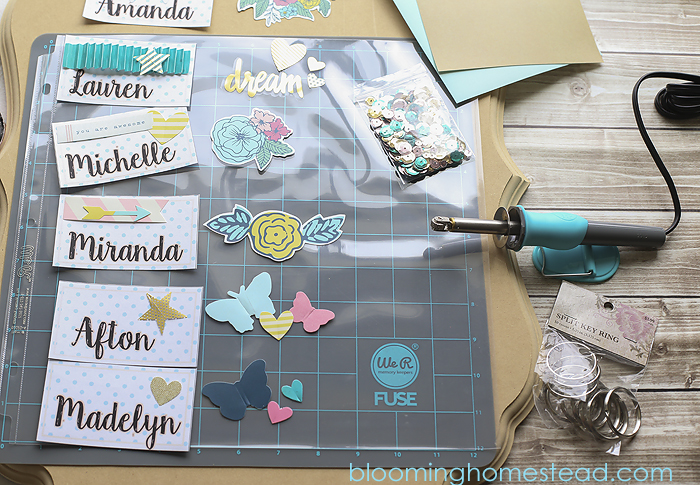
To make these tags, you’ll need to print out the names on a sheet of paper and cut them out to the size you want your tag. After you have your front piece cut, you can add card stock or chipboard to add some sturdiness to the tag. I used a teal card from the Fuse Bundle Kit and cut it into a matching size to use as a backing for my tag. When you get your tag all taped/glued together you can start embellishing with all the cute accessories from the kit. Check out all of these goodies that come in the bundle:
I played around with the accessories to decide what embellishments I wanted to use on the front and back of each tag.
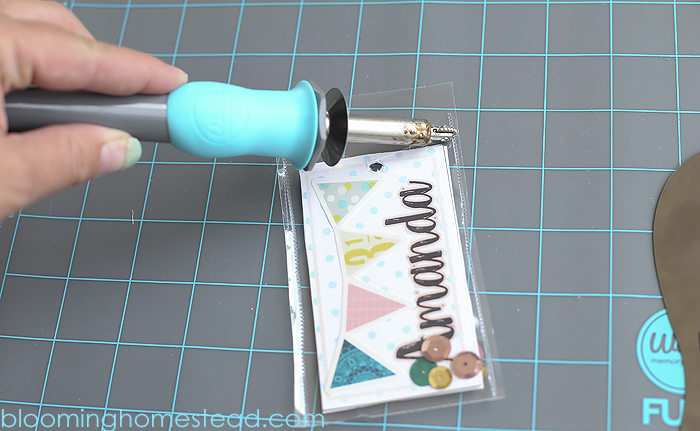
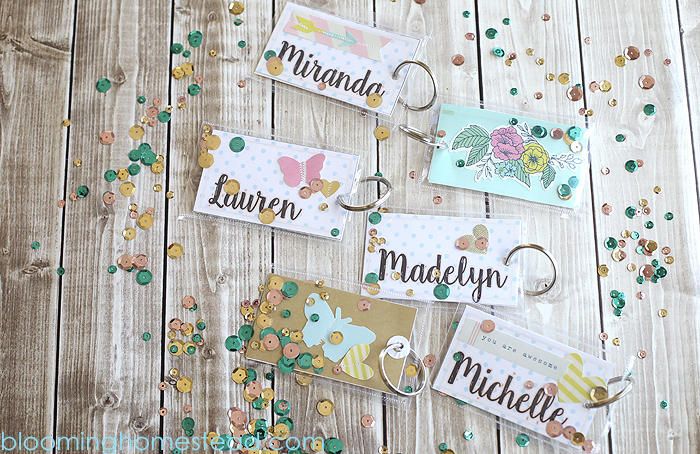
After fusing on the embellishments you’ll take a 12×12 photo sleeve (also in the kit that are acid free, PVC free, archival material) and fuse individual tags. Start with the bottom and move up the sides. Before fusing the top shut, I added some cute sequins to the tags. Now fuse the top shut, trim, and insert your keyring.
I created a little video tutorial showing how I put these tags together from start to finish.
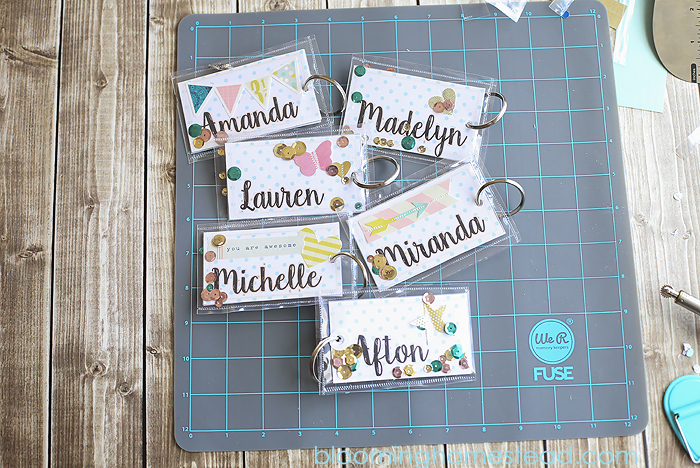
I just love how cute these tags turned out!
This Fuse kit will be available for a special price on 1 day, July 1st, on HSN. If you sign up for HSN’s email, you can save an extra 15% with this bundle. This kit retails for over $100 but will have an amazing discount price on July 1st so be sure and check it out.
Do you have any fun ideas for what you will make using the fuse? I’m already planning some craft room organization! Just image being able to reseal all those sequins, embellishments etc, so they can be organized in my craft dresser. I am pretty excited.


These are adorable! What a great idea. Thanks for the tutorial and video! 🙂
This is so fun! What a great idea that doesn’t involve scrapbooking!!
Thanks so much Elaine, I love how they turned out.
Love your tags ….Names on tags are hand written or where can I find this font?
They were printed using a font called Clementine Regular.
Wonderful idea! Are you using a wood-like vinyl backdrop for your photos? If so, where did you purchase them at?
Thanks so much Melanie, I do use a vinyl backdrop from the etsy shop Swanky Prints. Hope that helps!
Hi, great idea you had. Which is the name of that wonderful font you used to stamp names? Thanks for helping xxxxx
I *think* it was country chic regular.