
I decided that I wanted to make some hair accessories out of fabric so I went in my fabric stash and grabbed my glue gun and went to town!
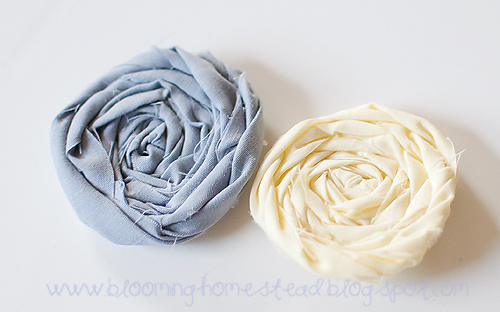
First off: Fabric Rosettes…my favorite. (I know…another rosette post) I made some at Halloween and used them as a brooch. So cute. I knew I needed something with gray and yellow to accessorize with some new shirts I bought. But I will tell ya…I am NOT a big hair accessory kind of gal. I like accessories, I just don’t want a big giant flower on top of my head…sorry…its just not me. So keeping that in mind I knew I wanted to keep the rosettes thin and skinny so they weren’t too high off my head. I already posted a rosette tutorial but I am going to post my process of making these skinny rosettes too. Keep in mind that I had to be a little neater to make sure the glue didn’t glob through to front of the rosettes where it would be visible.
First off I cut a piece of felt for the base.

Then I cut my fabric strip. Usually I tear a strip of fabric because I like the look, however, I decided to cut strips 1 1/2″ wide to keep it skinny and not as tall.

Fold rosette strip in half.

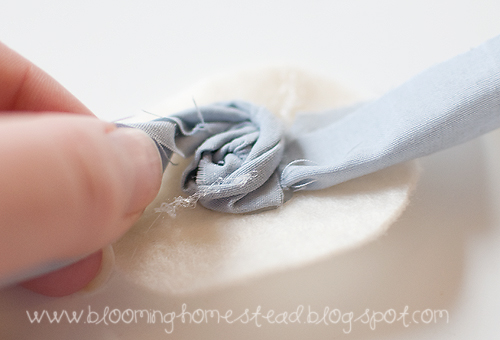
Tie knot in one end to create the starting center “bud”.

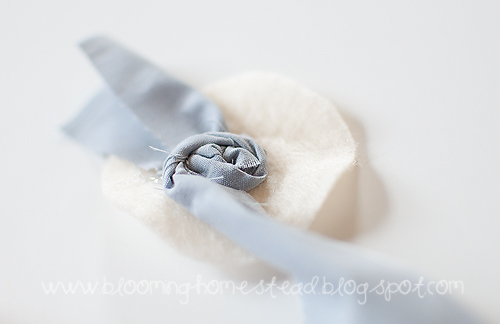
Then put a small amount of hot glue on the center of the felt and place the knot with end wrapped kind of under on the hot glue to secure it as a start. Then start wrapping and twisted the folded fabric around the bud to created your rosette.
Make sure you don’t use too much glue so it doesn’t seem through to the front. Keep wrapping and twisting as you go.

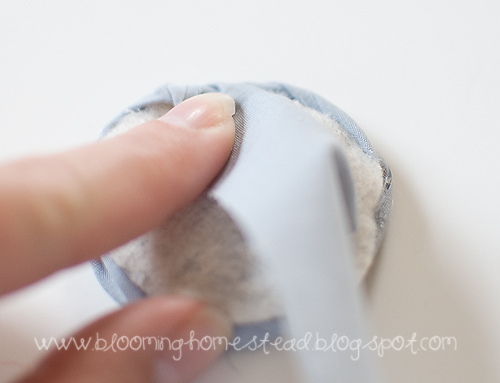
Once you have your rosette finished, wrap the leftover tail piece underneath the rosette and glue it down and trim it. (I trimmed the small end while I was wrapping and twisting and gluing over top of it.
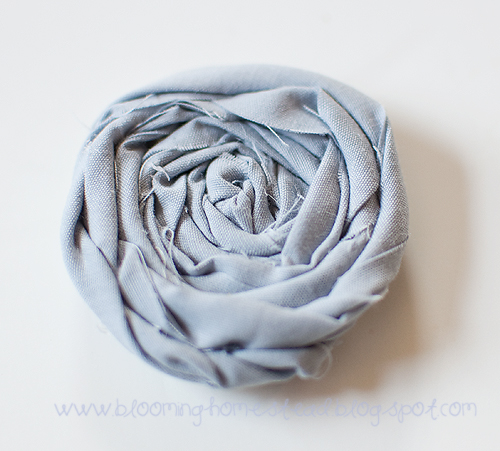
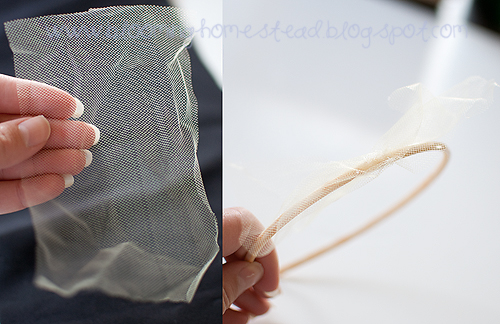
And there you have it. Super easy, fast and not fat! LOL, now want to see the finished product? I just used a cheap plastic headband. (I refuse to use ones that hurt my head or the bands that just slide off…so these plastic ones are the best for comfort for me!) I cut a piece of light yellow tulle and squeezed it in the middle in the shape of a bowtie and glued in on to the headband only on the scrunched part. (Are you following this? I am so not good at explaining…I guess I need to get vlogging!)
Then I glued my gray and yellow rosettes on top.
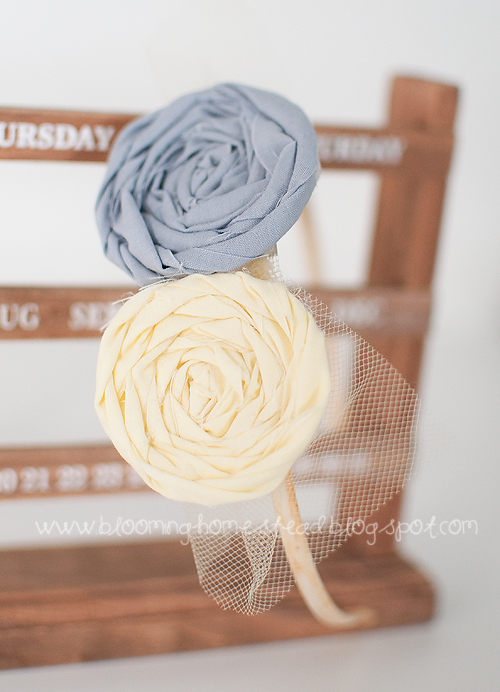
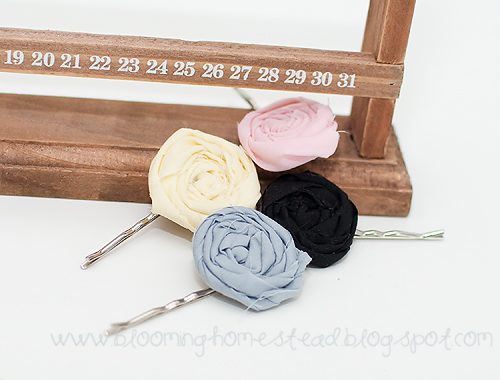
What do you think? Too bad no one is around to take a picture of this on my head so you can see it in all its cute but “subtle not standing high off my head” action. This was so fun and easy that I went a little rosette crazy. I made another one of these headbands but with black rosettes and fishnetting? type stuff…it was pretty but I haven’t taken a pic of it yet. And how about these little beauties? I just used some bobby pins with flat circle plates on top that I found at hobby lobby. Perfectly adorable. I fear that if I didn’t live in a house overun with boys than everything in my house might be covered with rosettes! LOL, but seriously they are so easy and could be so cute added to wreaths, pillows, frames, bags, shirts…you name it!


These are beautiful – I love the colors you chose – thanks for the tutorial – you make it seem so easy 🙂
I love these!
So cute, great job.
Cha Cha
I love these! I have really been wanting to make some, but haven’t yet. Thanks to your great tutorial, I can do that!
Vanessa
I love these! I love the ones on the bobby pins!
How long of a strip of fabric did you use? I want to make one of these to finish off a messenger bag. There’s a little flaw in the fabric and I thought this would be PERFECT to cover it. 🙂
Yes, there so easy you’ll love them! I used about 18″ give or take. Doesn’t hurt to have extra you can always trim it off. That made about 2″ flower. Good luck!