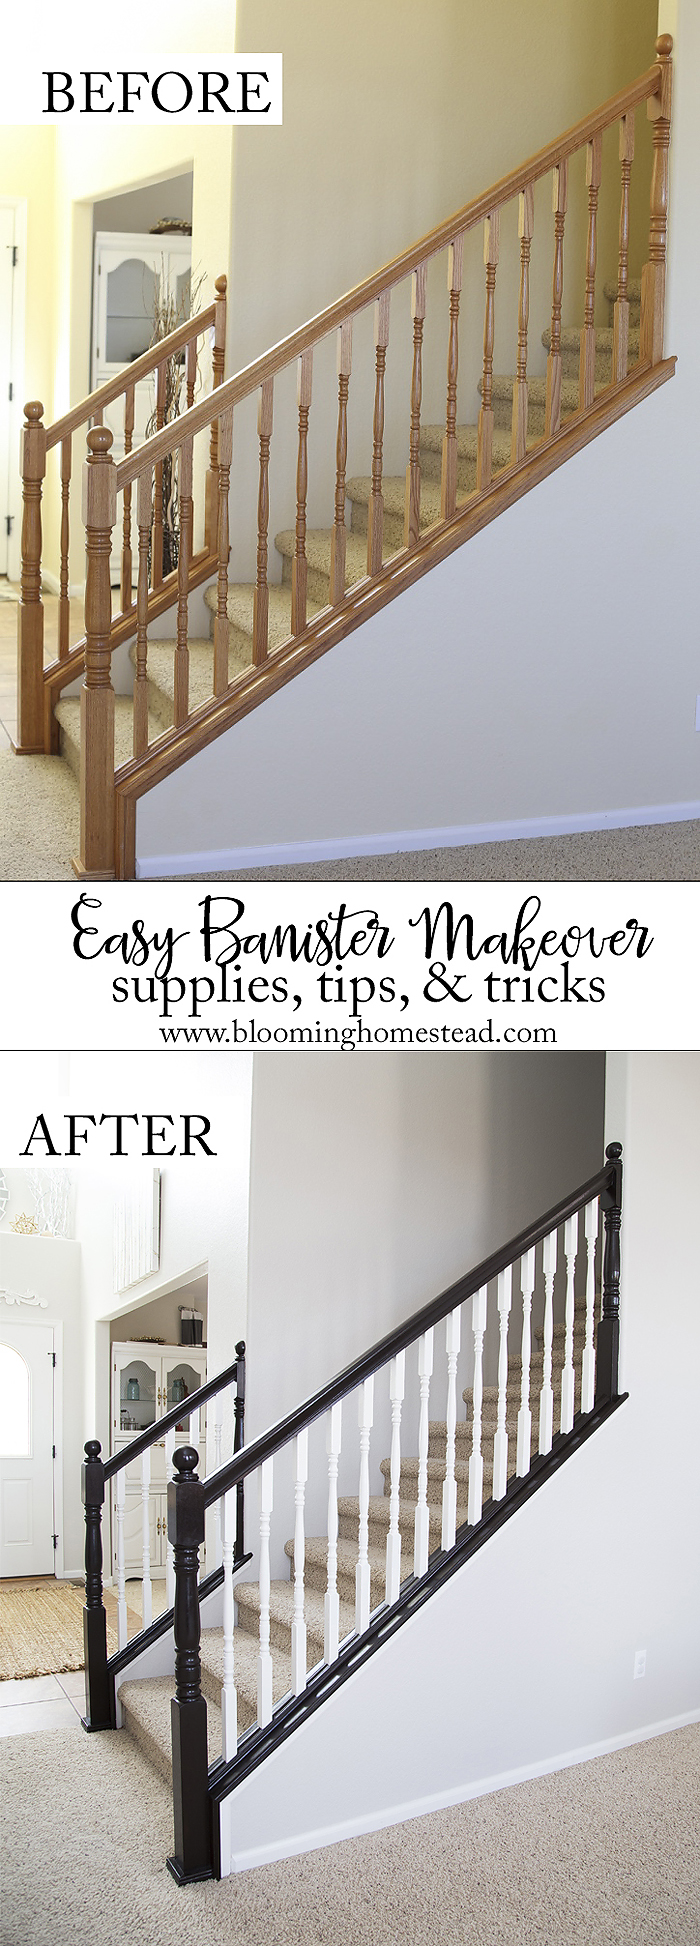
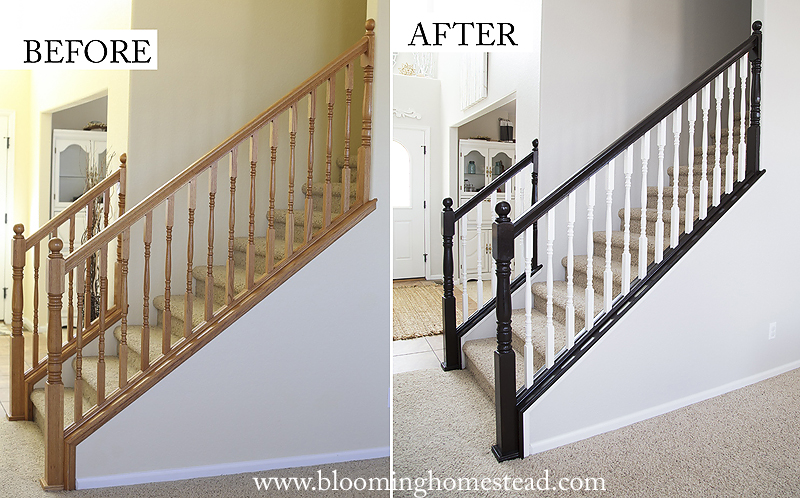
When we purchased our home about 6 months ago, we knew going into it that there were some changes we wanted to make cosmetically. One of the biggest changes included a new paint job for the majority of the house and replacing the old oak banister. After doing some research and looking at costs, I decided to stain and paint our existing railing for a fraction of the cost and today I am going to share the nitty gritty details on our DIY Stair Railing Makeover. I originally called this project the “Easy Banister Makeover” because well…it is “easy”, however it is so time consuming easy doesn’t quite fit it.
Click Next to get all the details.

Pages: 1 2


This is amazing! I love the before and afters, they show such a huge difference! Love it, and glad you lived through it
Simply Stunning !! Nicely done. We did this gel stain to our front exterior door and it really made the new house paint pop. We received many compliments from the neighbors. We also need to redo our kitchen cabinets. I may consider this process, especially after pricing new cabinets. Thank you for sharing all the tedious steps. It was well worth it ….. your outcome makes the banister look so current.
Thank you so much Carol! Yes, it totally made the house feel updated. I love it!
Hi, I am in the process of doing my stairs in Java with another coat of antique walnut in top. I haven’t put my top coat tet, but am nervous because I heard the top coat makes all mistakes and the uneven coats show. Did you have this problem? ?
Hi Julie, I think the topcoat does add some shine which highlights some imperfections. I thought it turned out nicely though and am happy how it turned out. It added a beautiful finish.
Your stair rails look beautiful! I started this process literally over a year ago and became so frustrated that I’ve left it unfinished for so long. How were you able to perfectly paint the banister where the white paint meets the stain? Being a perfectionist and ending up with such an imperfect job has brought me to tears!! Any tips??
Hi Nadine, oh my goodness this process was so painful! I can understand the tears! Let’s just say it took me a few times of correcting to get it right. At first I thought I could tape it but it just didn’t work. I had to use a firm angled small brush and just went slow. When I would have white on the stain I would wipe it right away and restain over it. It was hard but ended up working out. Good luck!
Beautiful!! My stairs are similar, except the “bottom” is also painted white instead of stained like yours is. I like yours better.
My question is off-topic from your stairs… what color is the paint on your walls? I love it!!
Thank you so much! My wall color is Agreeable Gray by Sherwin Williams and I had it lightened b 25%. It took me forever to finally pick a color that I loved!
I love this makeover! I’m about to add a wall mounted handrail across from my stair railing, to help my elderly parents. The process of picking out the handrail led me to your site, and now I think I’m going to refinish my stair railing too. More work than I was planning for but it will look gorgeous! Great job.
It’s a lot of work but worth it!
What tool did you find worked best in the spaces between spindles?! I am applying the 2nd coat in about 16 hrs and wondering what’s the best way to create an even sheen of stain between spindles. Some say use sock, others say has sponge brush..
I used a t-shirt cotton strips.
I am just starting this same project. I would like to know more about your prep on the stained areas. Did you use a varnish remover before you sanded? I didn’t think I could get the stain to be absorbed it I didn’t take the finish off. The remover was a little messy but I think I will have a nice even stain when finished.
I am a big fan of taping to avoid the splatter, trick is to remove it before it drys andetape for each coat. Wish me luck
Hi Kathy, I didn’t use any sort of remover, just sanded off the shiny finish and the gel stain penetrated it for an even stain. I was told that was the benefit of gel stain is it didn’t require complete removal! Just a little sanding. 🙂