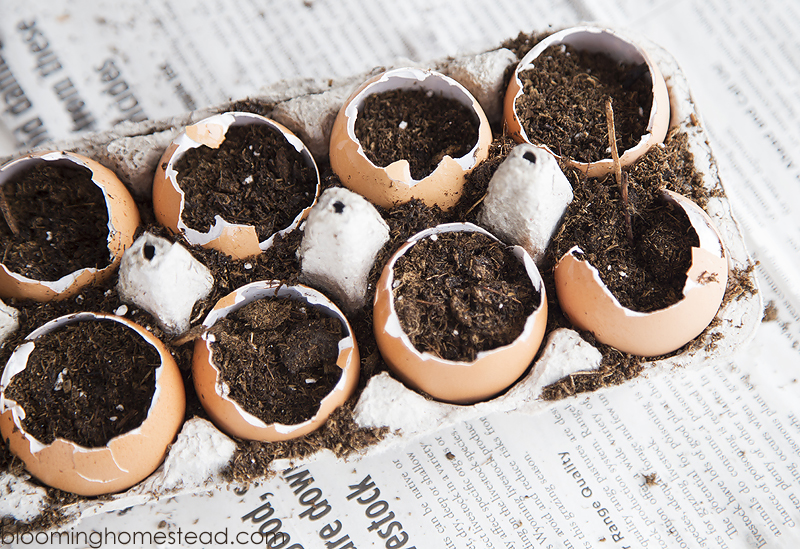
As a family, we decided to create a fun Eggshell Garden to get a headstart on our summer planting. This is our first year to have a garden and we are so excited! The growing season in Wyoming is pretty short so starting seeds indoors is a great way to get things moving and get the kids involved. Not only are these a fun and simple way to start seeds, but when the time comes to transplant them, the shells can be placed in a larger pot or directly into the ground, as they’re biodegradable. They make a perfect Earth Day Project.
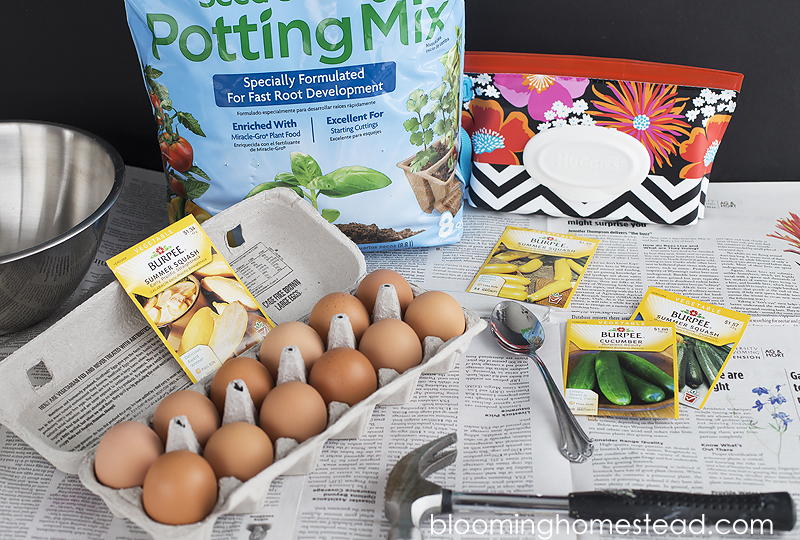
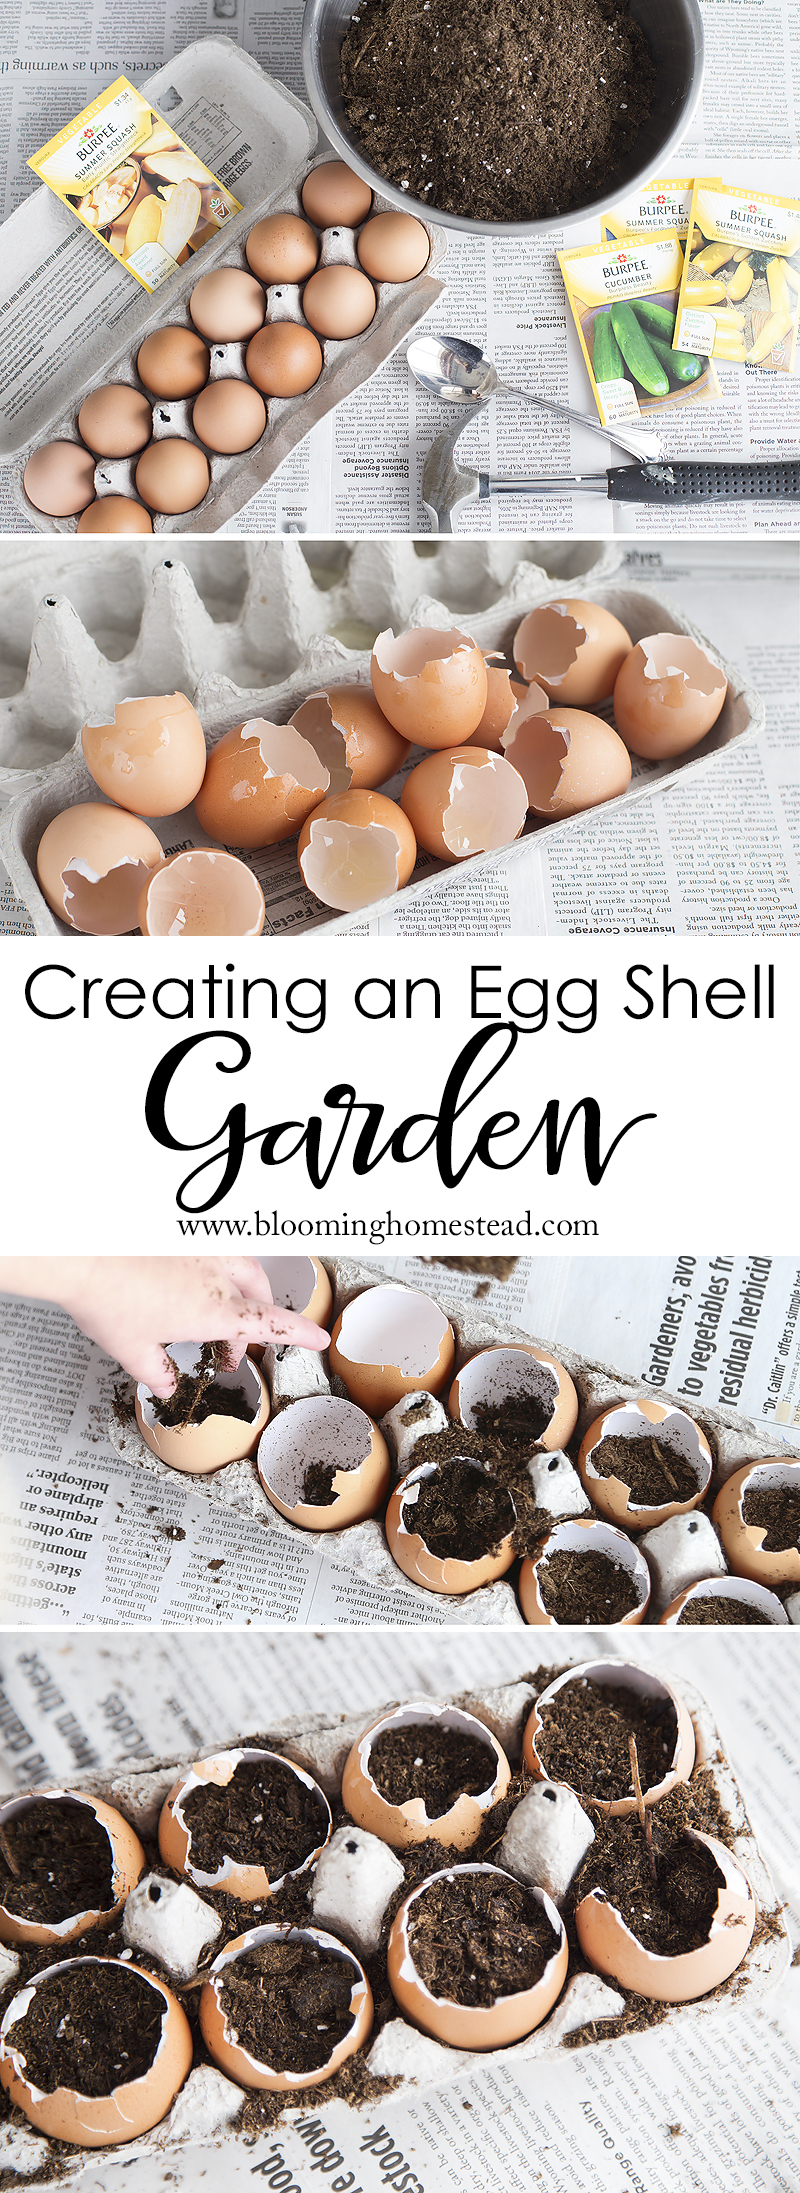
Here are the supplies you need for your own Eggshell Garden:
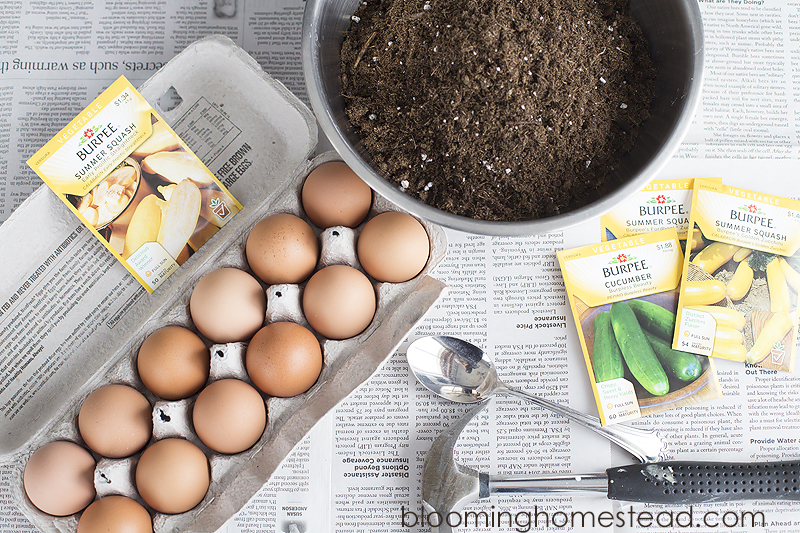
- Empty eggshells (washed and dried)
- seeds
- seed starting potting mix
- empty egg carton
- hammer
- ice pick or strong needle
- old newspaper
- Huggies® Wipes
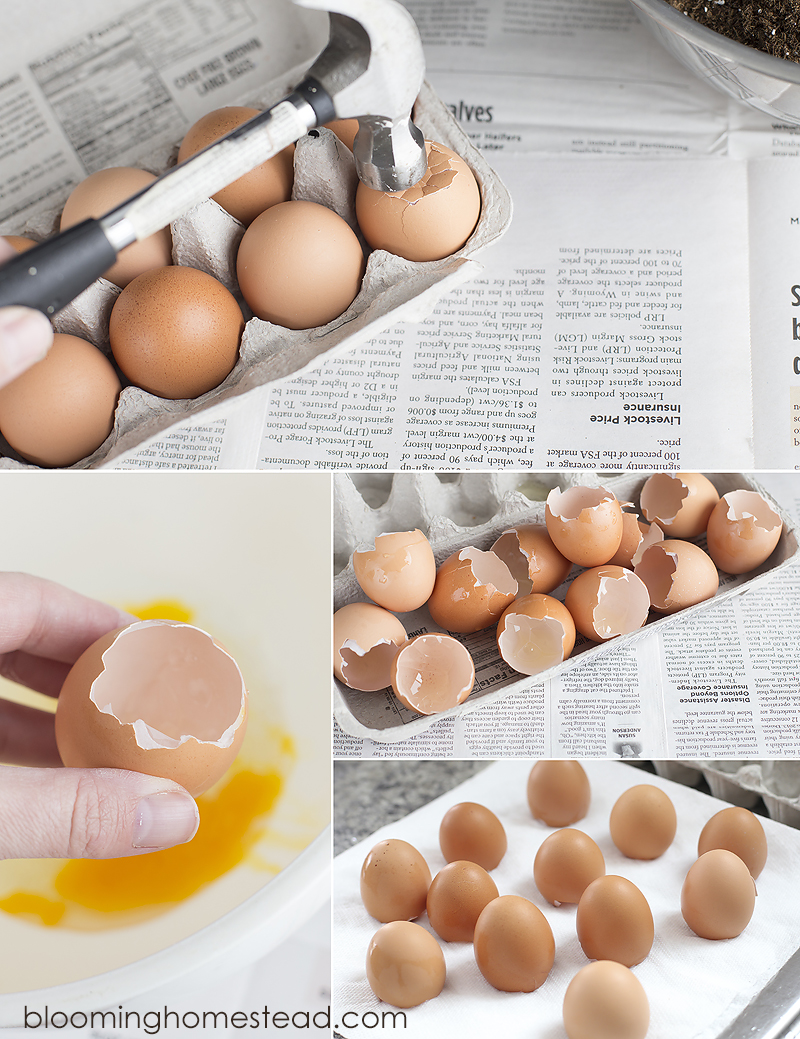
Step 1: You’ll first want to read the back of the seed package so you know the exact sowing guidelines for those particular seeds. This will let you know how many seeds to add to each eggshell and the planting depth needed. You’ll also prepare your eggshells.
For this project, I gently used a hammer to break into the top of the eggshell and emptied the contents into a bowl to use for a few recipes. (You can start saving eggshells as you go if you don’t need a dozen eggs at once. 🙂 Gently rinse the empty eggshells with soap and water and lay upside down to dry. Pierce the bottom of the shell with an ice pick or strong needle to create a drainage hole. Be careful not to break your shell when creating the drainage hole.
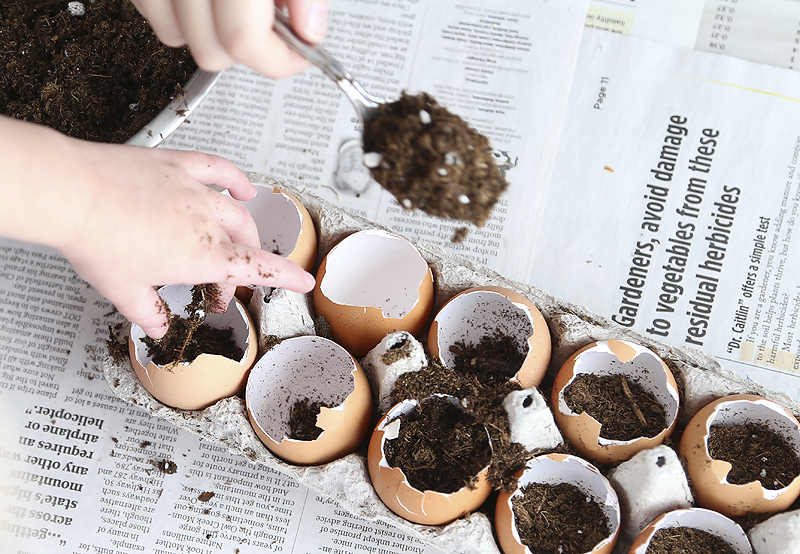
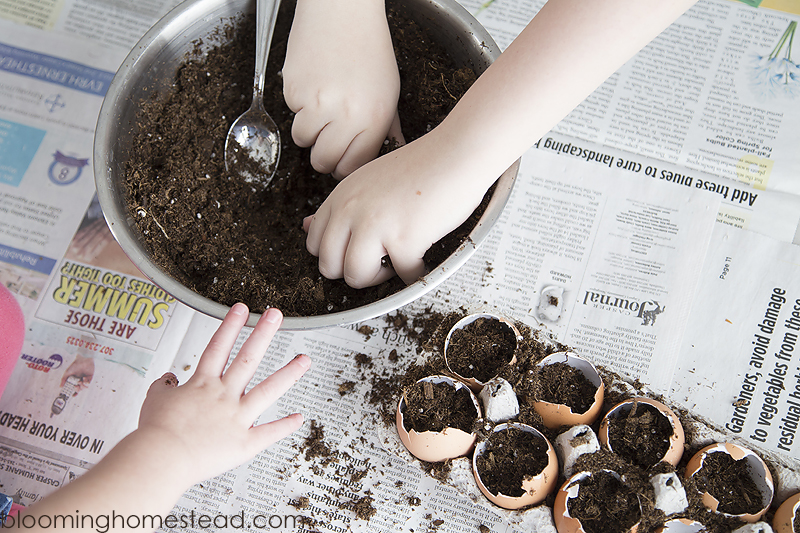
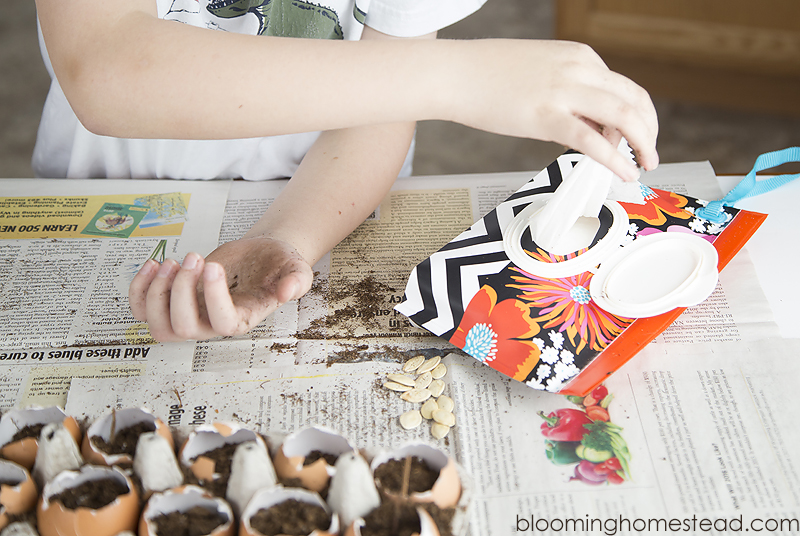
Step 2: When the eggshells are dry, you’ll add in the potting mix to prepare for the seed sowing. To create a workspace I recommend laying out old newspapers to help catch any spare soil. Now you are ready to fill your eggshells. You can use a spoon to add in the mix, but the kids found it easier to just use their hands. (Any excuse to play in dirt right?)
Step 3: Place the seeds into the soil.
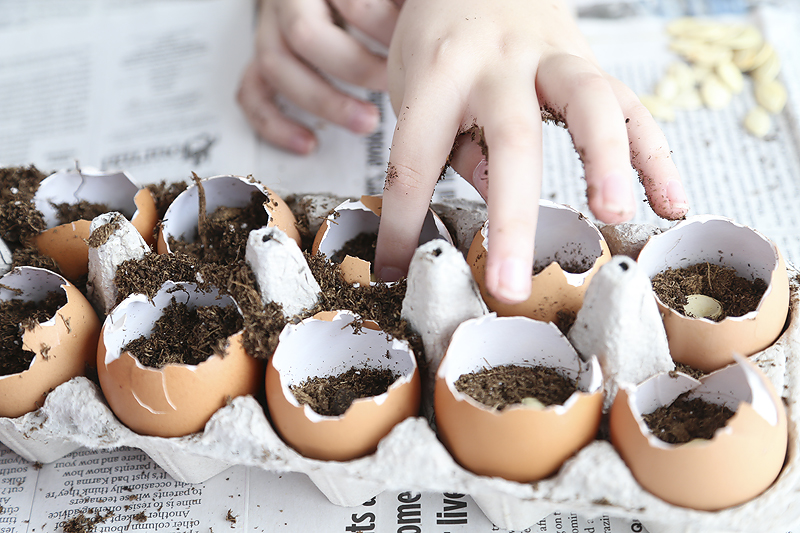
Step 4: Add a little more potting mix to cover the seeds properly. (We wanted to make sure that when we water them the soil would still be covering the seed.)
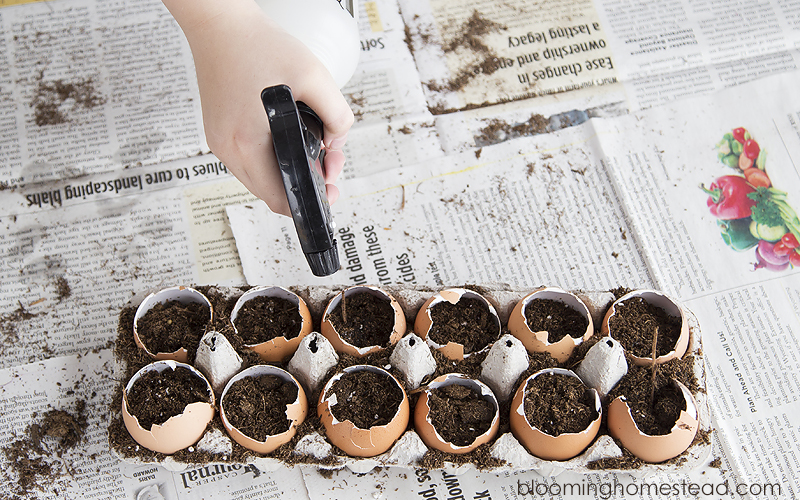
Step 5: Spritz with a water bottle and place the tray in a sunny window.
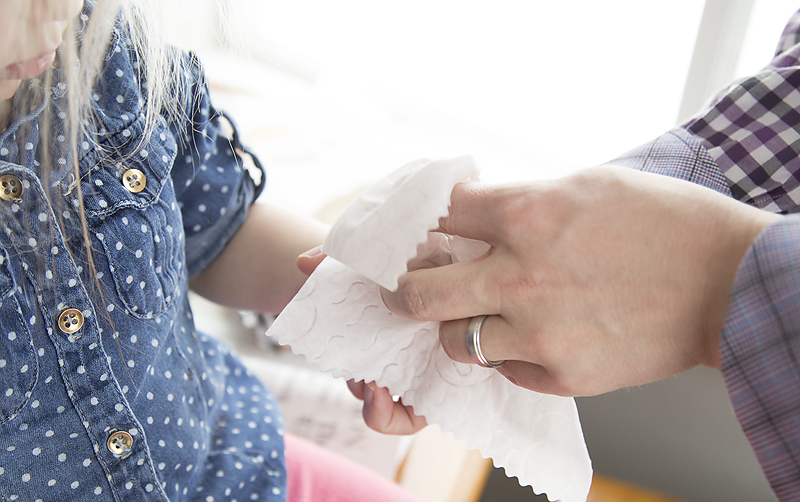
Step 6: Don’t be nervous about letting the kids plant indoors, clean up is super easy using Huggies® Wipes. We always keep these on hand and they are so convenient to wipe faces, hands, and even surfaces. They are soft and gentle on the skin but the TripleClean* layers are also thick enough to clean up messes. They are definitely a go-to when crafting/creating with the kids. (Or just for everyday messy life.)
You’ll want to remember to spritz your eggshell garden with water each day and in a few weeks you’ll be ready to plant your eggshell starts!
Visit the Huggies® website and join the Huggies® social media sweepstakes by posting an image of your messy kid to Twitter or Instagram with the hashtag #HugTheMessSweepstakes for your chance to win $2,500.


That is such a low cost, simple way to start a garden. I’ll have to try that.
Plus the kids love it!
This is such a cute idea, I love it! Looks like a pretty fun mess 🙂
Thank you!
Awesome idea! Holly
Thank you so much Holly!