Looking for an affordable, fun and easy mahjong craft? Or perhaps you’re looking for an affordable mahjong set that won’t break the budget but still fits your style? Look no further because I’ve got an easy Hobby Lobby Mahjong Tile DIY Makeover coming your way! I’m also linking some adorable and affordable amazon sets below if you want something ready to go. This post contains affiliate links.
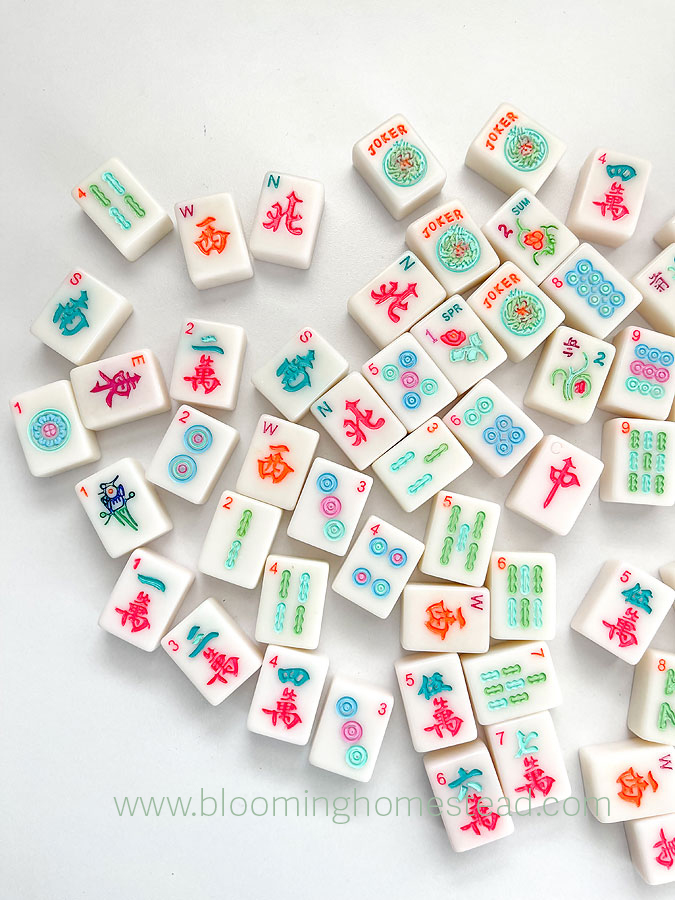
While mahjong itself has a rich and historic background dating back around the mid 19th century in china, it became popular when it became imported to the US in the 1920’s. During recent years, American Mahjong has had a revival and has once again risen in popularity. Not only is it fun and challenging, but the tiles and accessories often offered with the game make it beautiful and luxurious. Sets can range from $20 to $1000’s! When I found this super affordable hobby lobby tile set with its traditional faces, I knew I wanted to add some colors to make it more “me”. While traditional dots, craks, and bams come blue, red, and green, I wanted to add different colors.
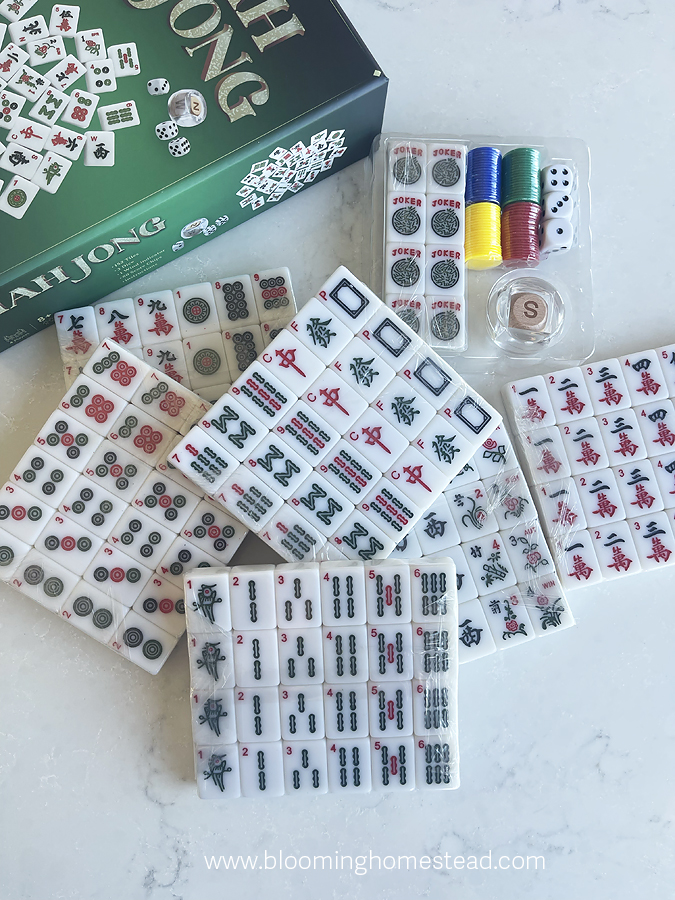
Here are the supplies you’ll need:
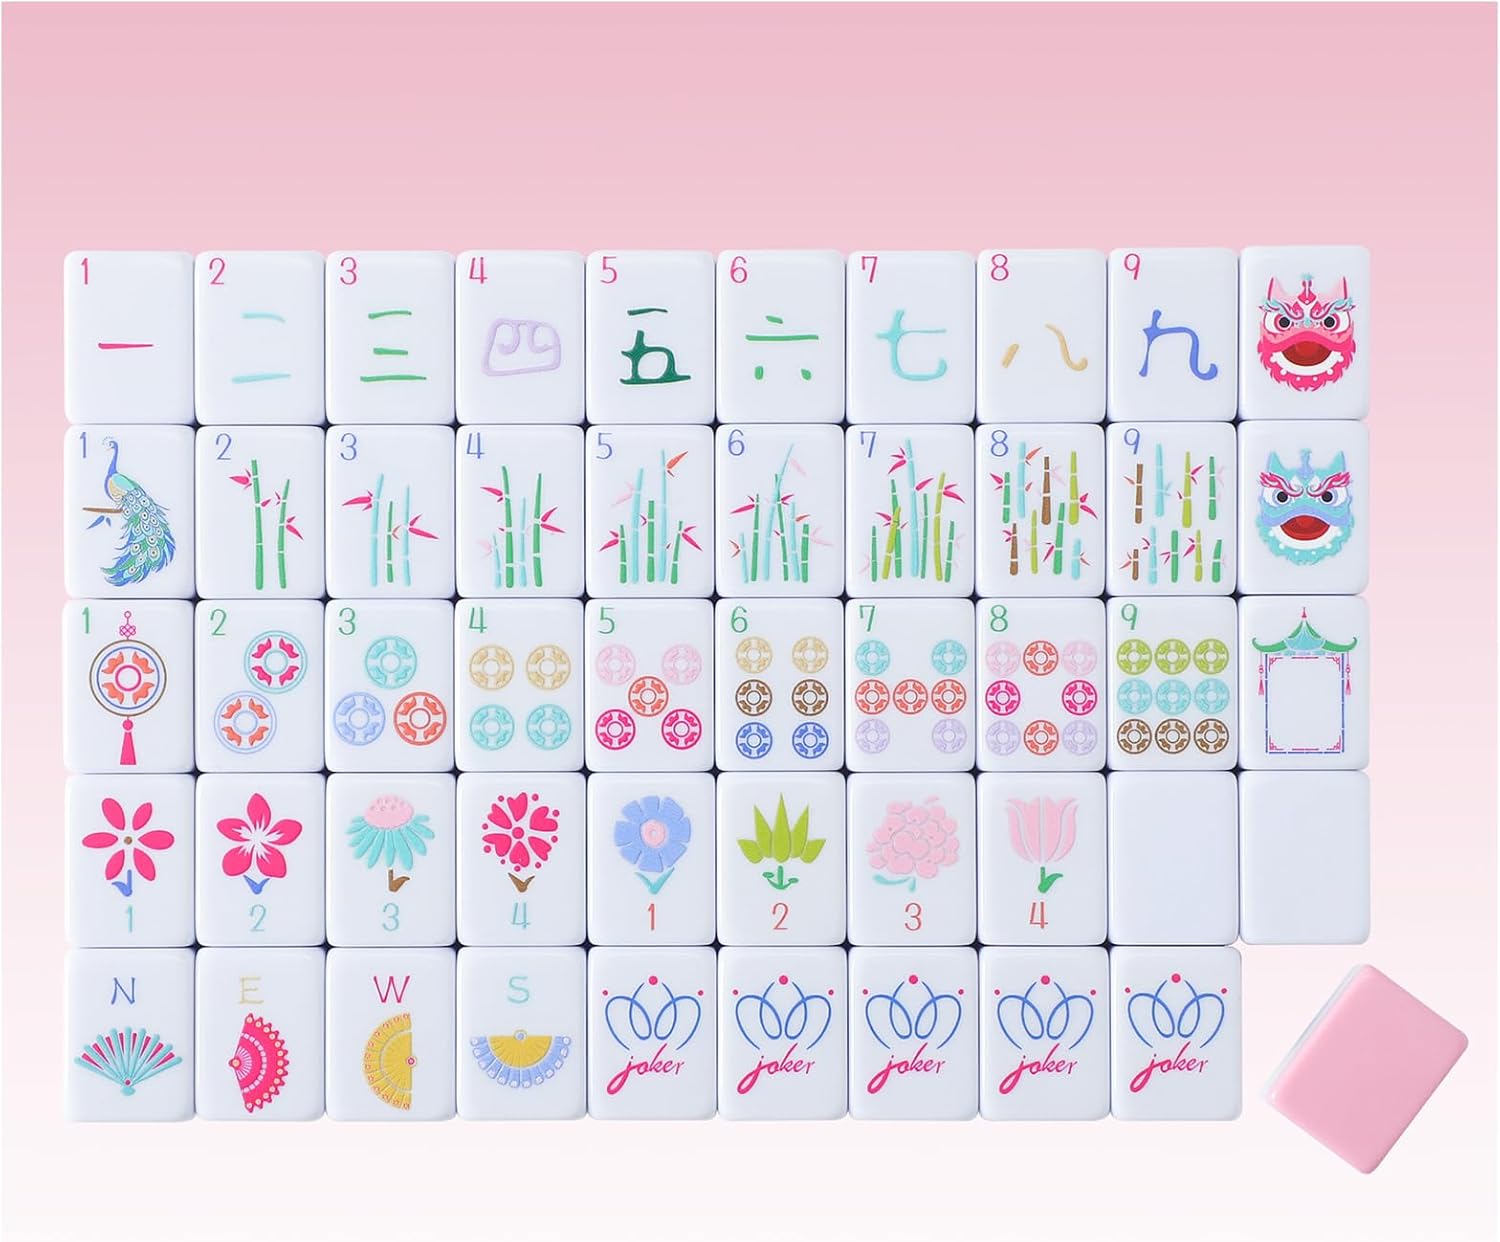
- Set of mahjong tiles (pink linked here)
- acetone
- acetone proof dish for soaking (I use these I had for my nails)
- cotton pads
- cotton swabs
- oil based paint pens
- toothbrush or scrub brush
- Artists’ gloss varnish
- small detail brush
I won’t lie, this process is time consuming and mildly tedious, but I really enjoyed the process. (Most of it 🙂 I’m sure there are several different methods for painting these hobby lobby mahjong tiles but I decided to remove the paint using acetone. Make sure to work in a well ventilated area.
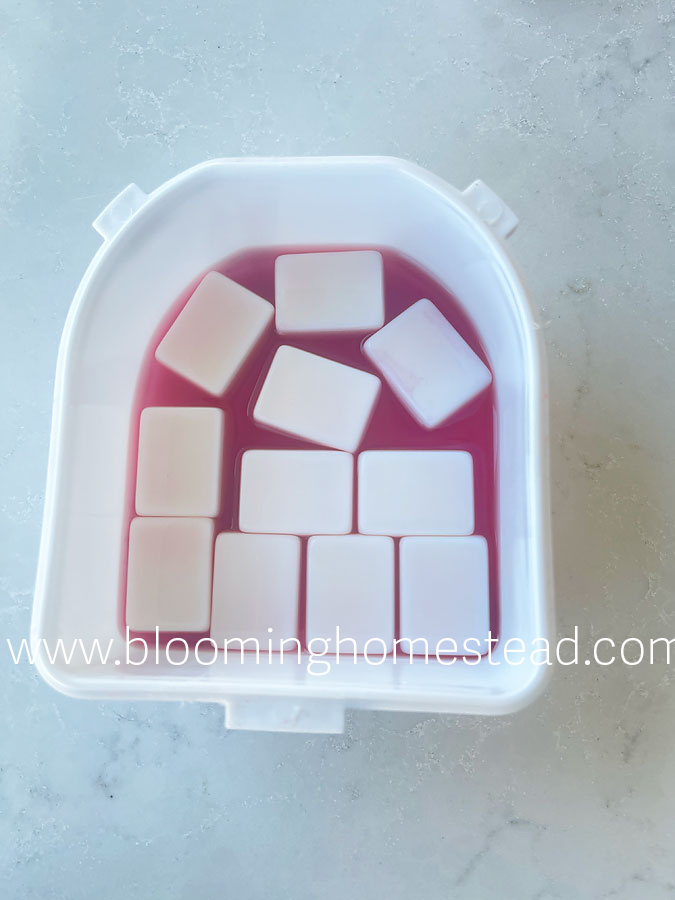
My first mistake was soaking several tiles together for minutes at a time. The paint immediately bled onto the sides and back of the white tiles. The red and black paint from the craks had the worst paint bleed. See below.
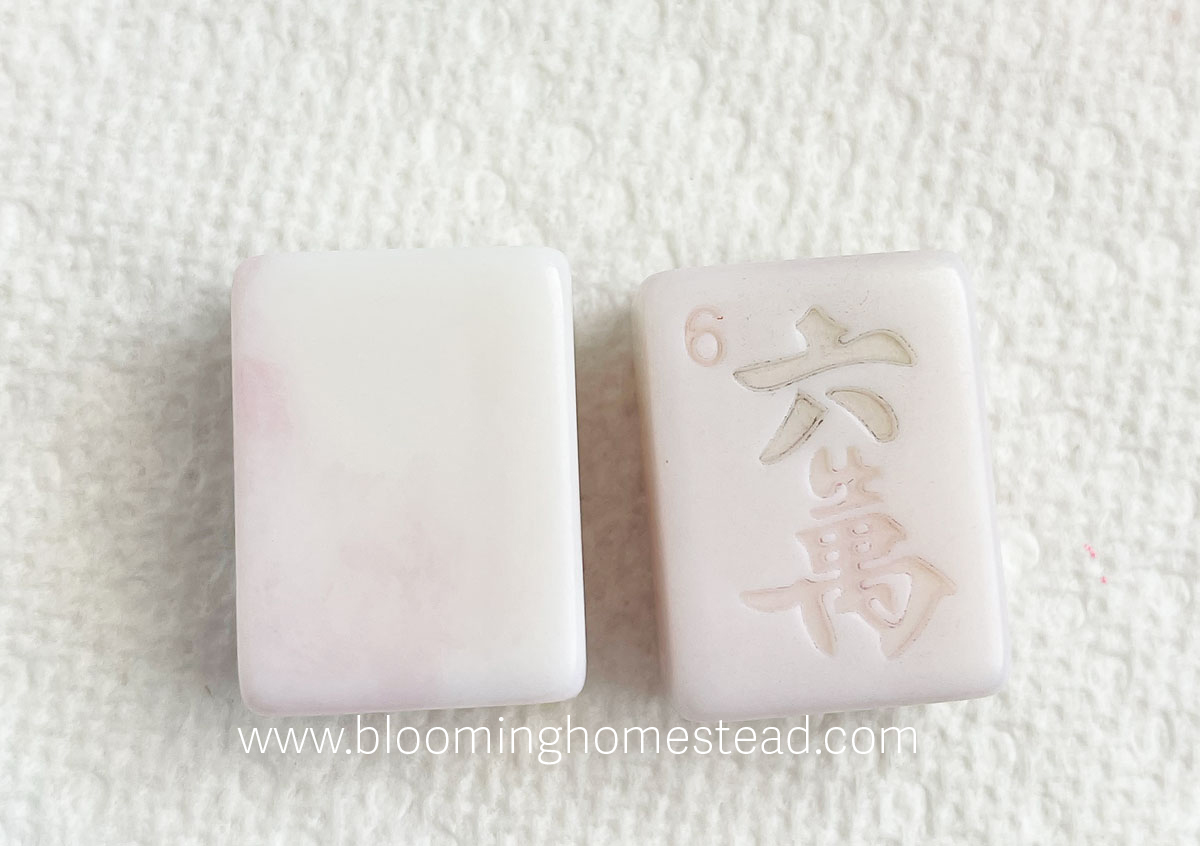
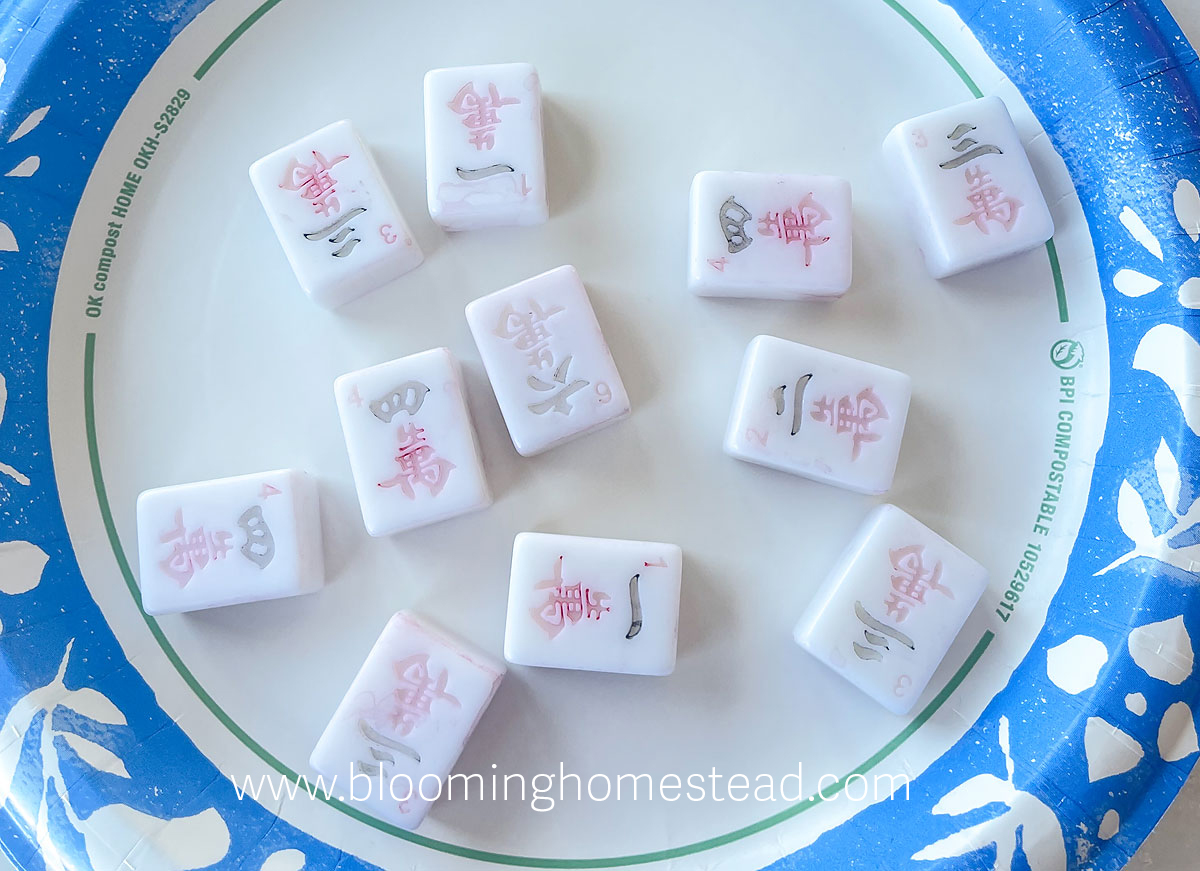
After learning my lesson on those first few tiles, I figured I should just start over but I didn’t want to buy another set so I just decided to keep going. I just switched my process up a little. I still filled my bowl with a small amount of acetone just to cover the face, I worked in small batches and added just a couple tiles at a time. I also would replace the “dirty” or used acetone every few tiles to make sure the old paint wasn’t leeching into the tiles. The melamine will stain if exposed to the paint leftovers and I couldn’t really find anything to remove it afterward. I let them soak for a few seconds then removed them and wiped them with an acetone soaked cotton pad to removed excess. Then I dipped a toothbrush in a little acetone and scrubbed off the remaining paint. I worked quickly and also wiped the paint excess off every few seconds so it wouldn’t have an easy time of staining. While there was still a little staining this slower method kept the tiles mostly clean and I was able to remove almost all the paint. Be prepared to use lots of acetone and a million cotton pads and swabs. 🙂
After I had the paint removed then came the fun part…painting! I decided to go with these fine tip oil based paint pens.
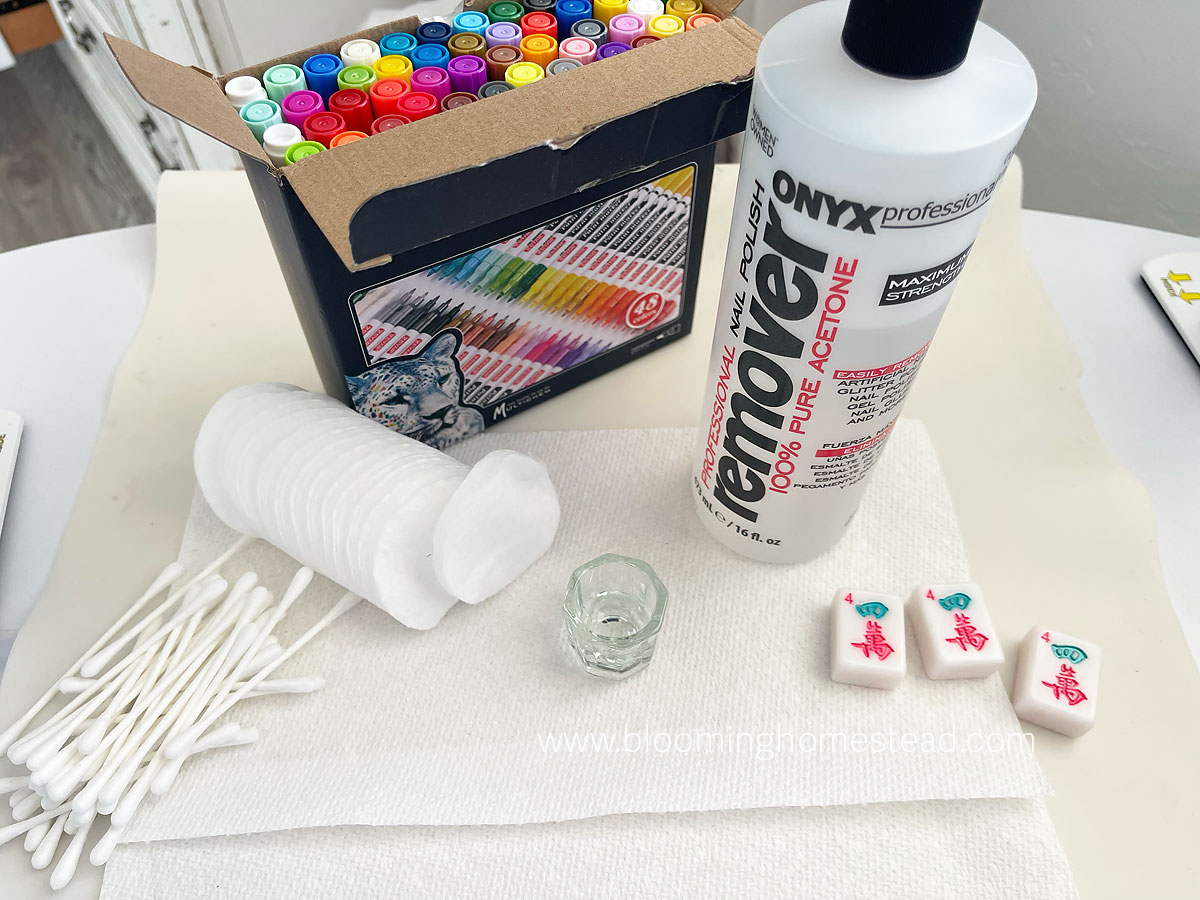
They offered a variety of colors and were easy to work with. I would pump the pen then trace in the engravings one tile at a time. After painting I would use qtips soaked with acetone for fine cleaning around the engraving. Be careful as the paint can spread and depending on the color you could get staining. I did get staining mostly on my first couple, but it isn’t terribly noticeable and I expected some paint bleeding in the process. Going slow and not using too much paint and cleaning as you go with prevent a lot of staining. (see my instagram videos if you want to see this in action). Go to Mahjong_mc on instagram for the videos. I forgot to stop and take photos of these messy parts just video!)
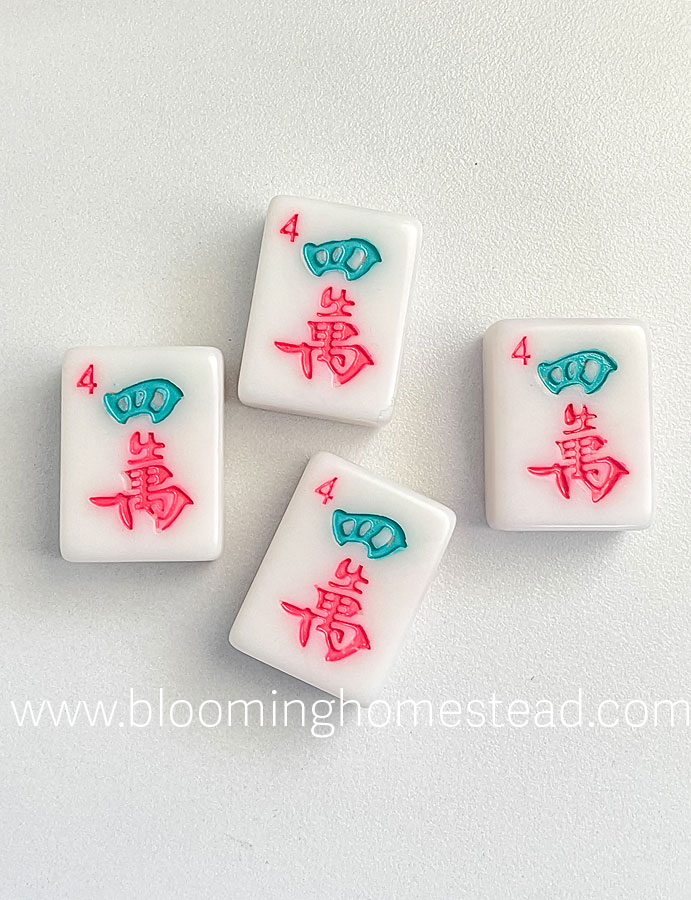
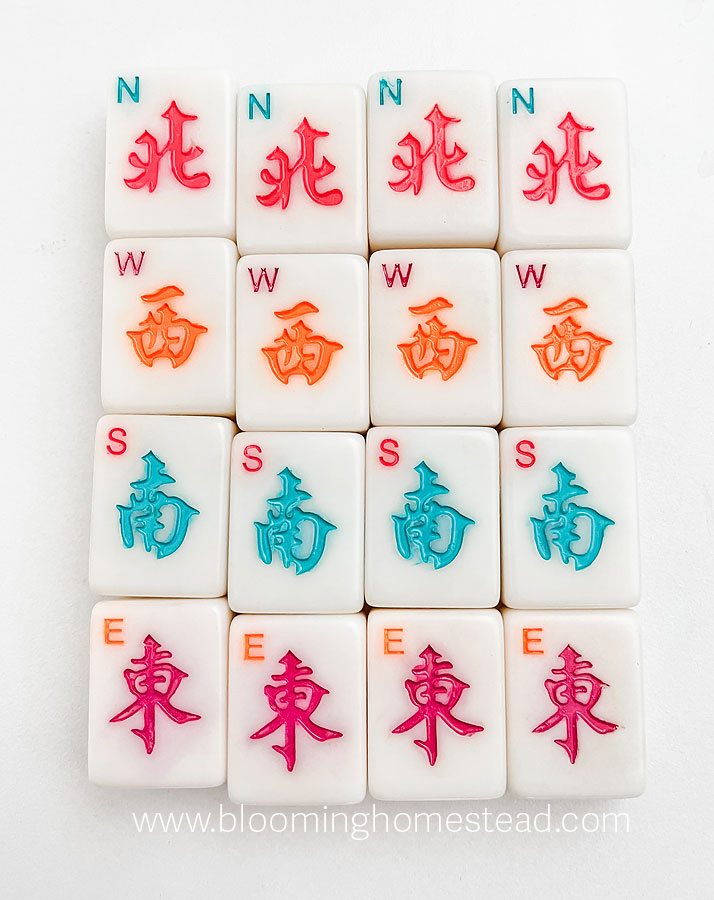
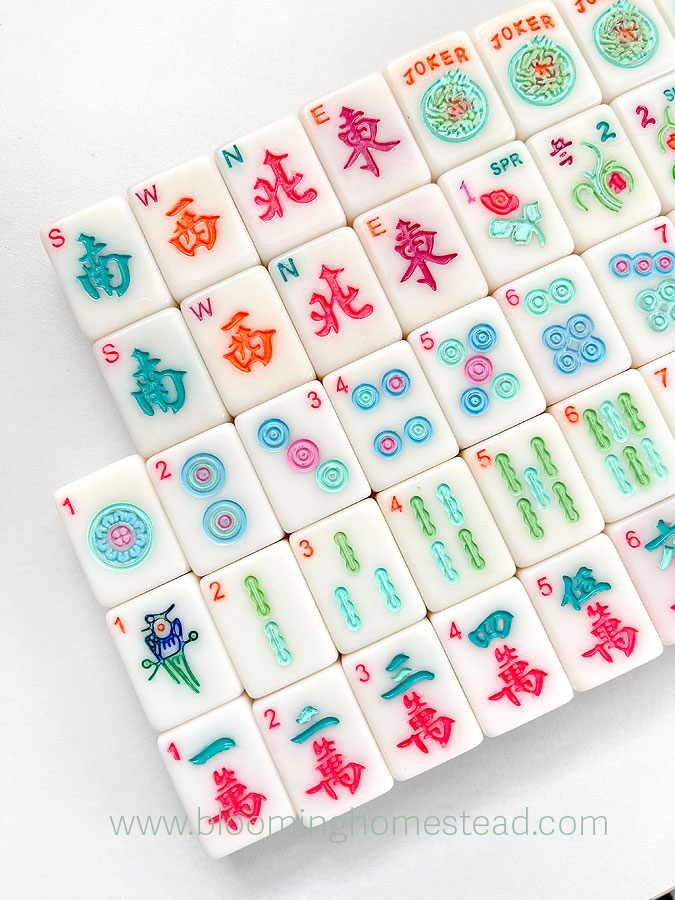
Notice in the photo above on the two East tiles on the left you a see the staining from the paint bleeding. This is why you want to be really careful to keep it between the lines and wipe off excess so it won’t go across anymore of the tile.
Honestly, the flowers were the hardest part, the engraved area was so fine and shallow it was difficult to get the color to stay.
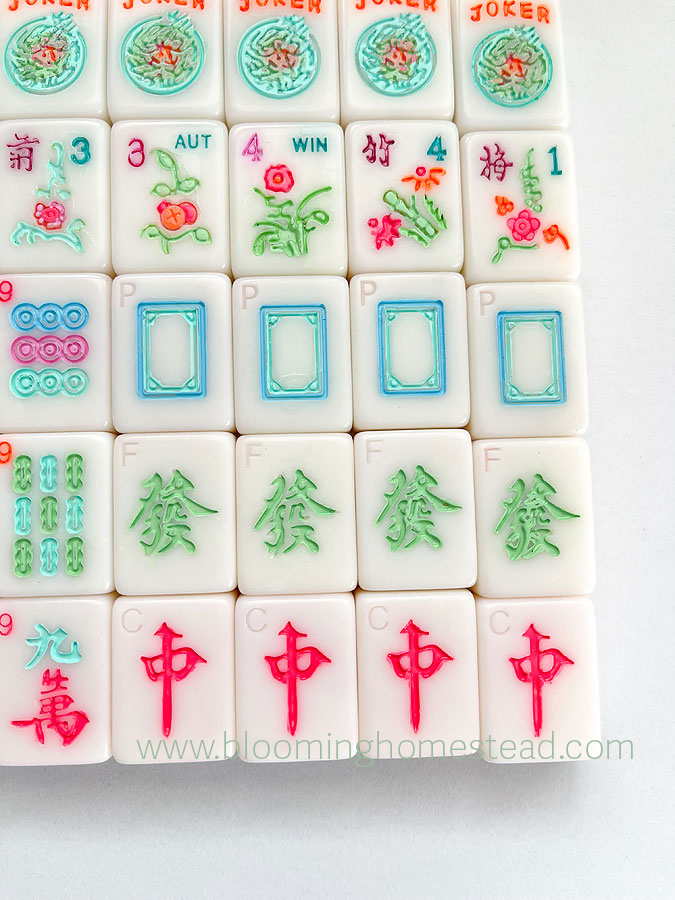
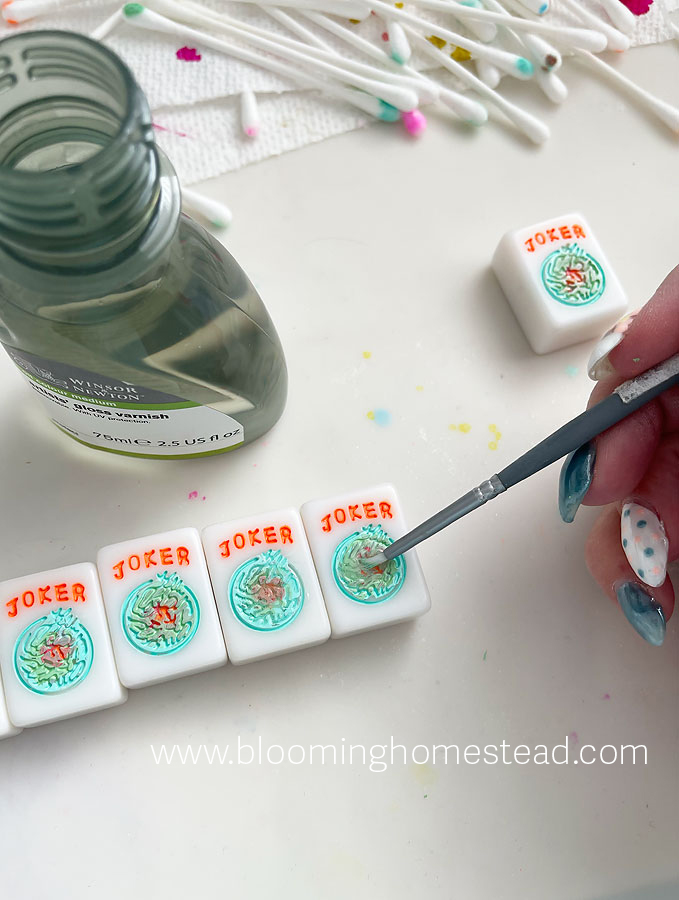
After I had the tiles all painted and they had cured for 24 hours, I used a small detail brush with artist varnish to seal over the paint and add some shine in the engravings. Once they had dried they were ready for play.
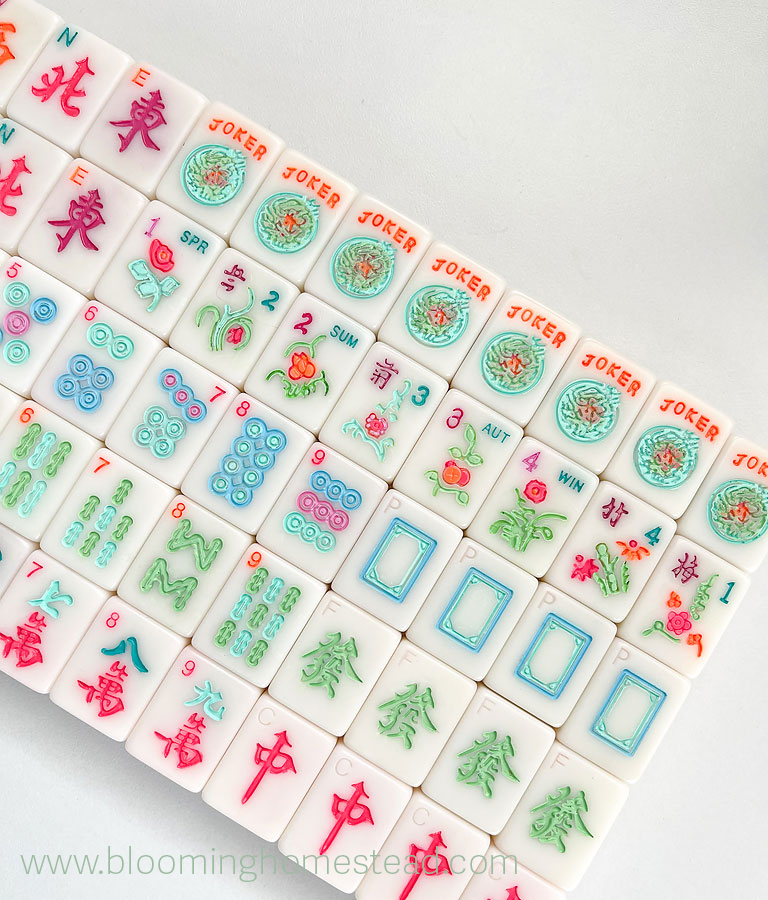
Overall, I am really happy with how they turned out and it was kind of fun. I know these are NOT the traditional colors, but I love them! So many fun bright and neon fluorescent colors!
The question remains…would I do this again??????
Honestly, I am not sure I would. I had a lot of these supplies on hand but I still spent $20 for the tiles, and $20 for the paint pens. For around $50 I could have bought a non traditional colorful set on amazon. However, the process of creating was fun for me and I do enjoy a good craft!
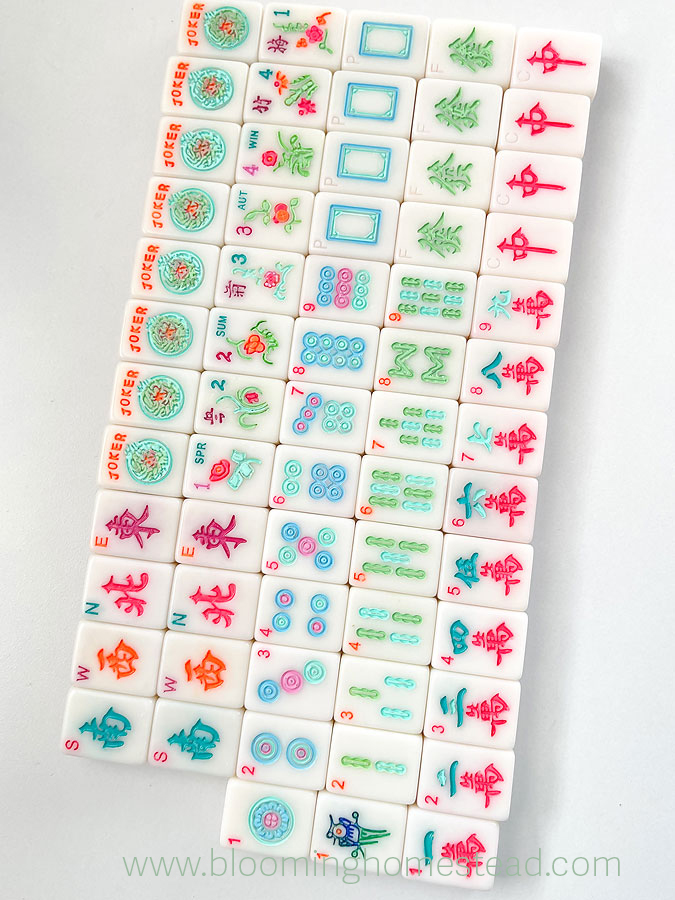
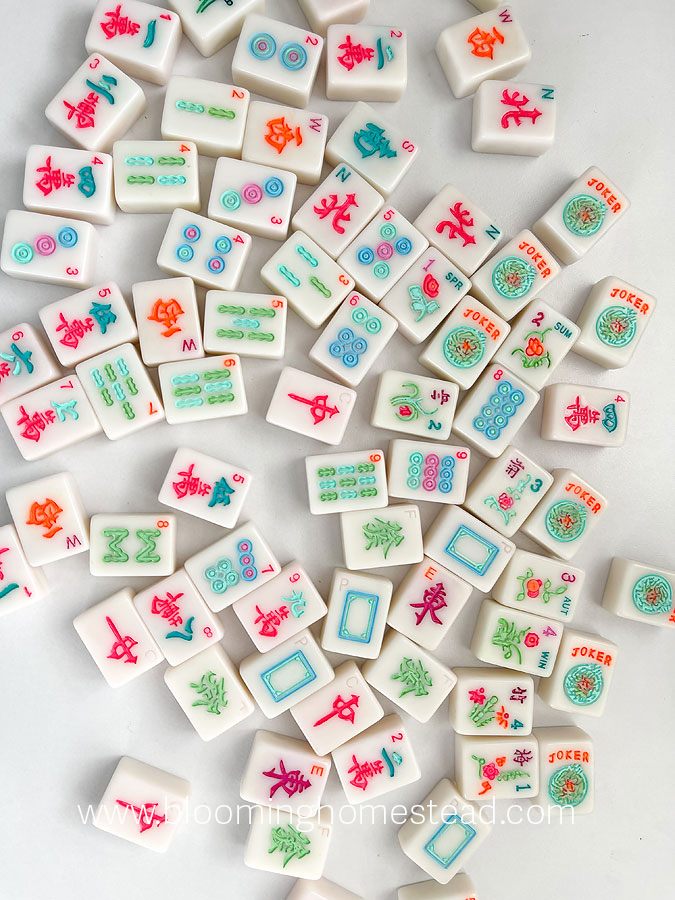
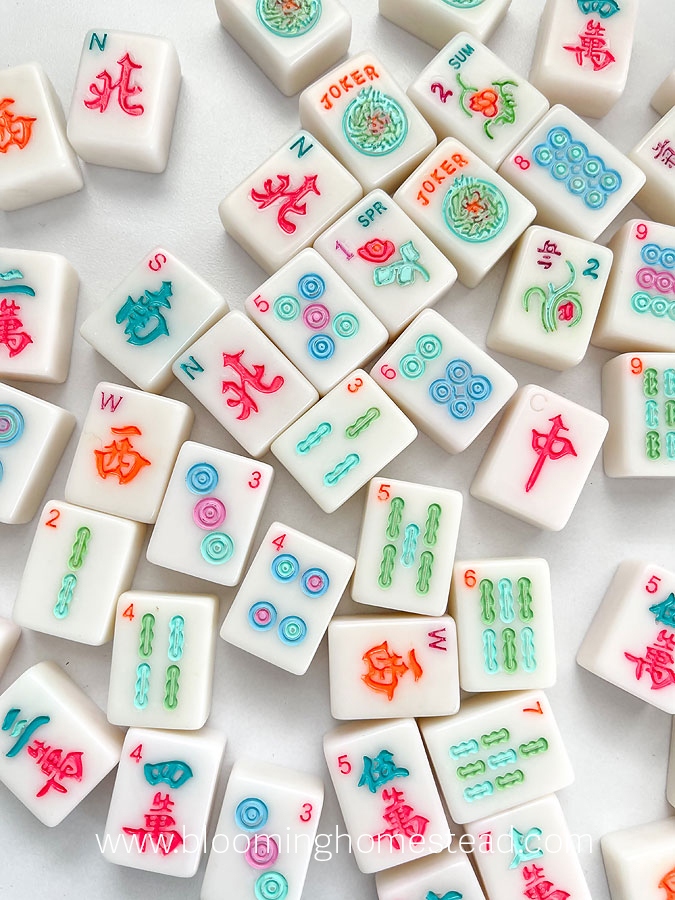
I do have a pink hobby lobby mahjong set and I don’t love the paint colors so who knows, maybe I’ll give it another go!
You may be better off just buying a set off amazon for the price you pay for all the supplies for these DIY Mahjong tiles. Here are some cute sets on amazon. Here are some of my favorite amazon sets. Find this adorable one here for around $100.
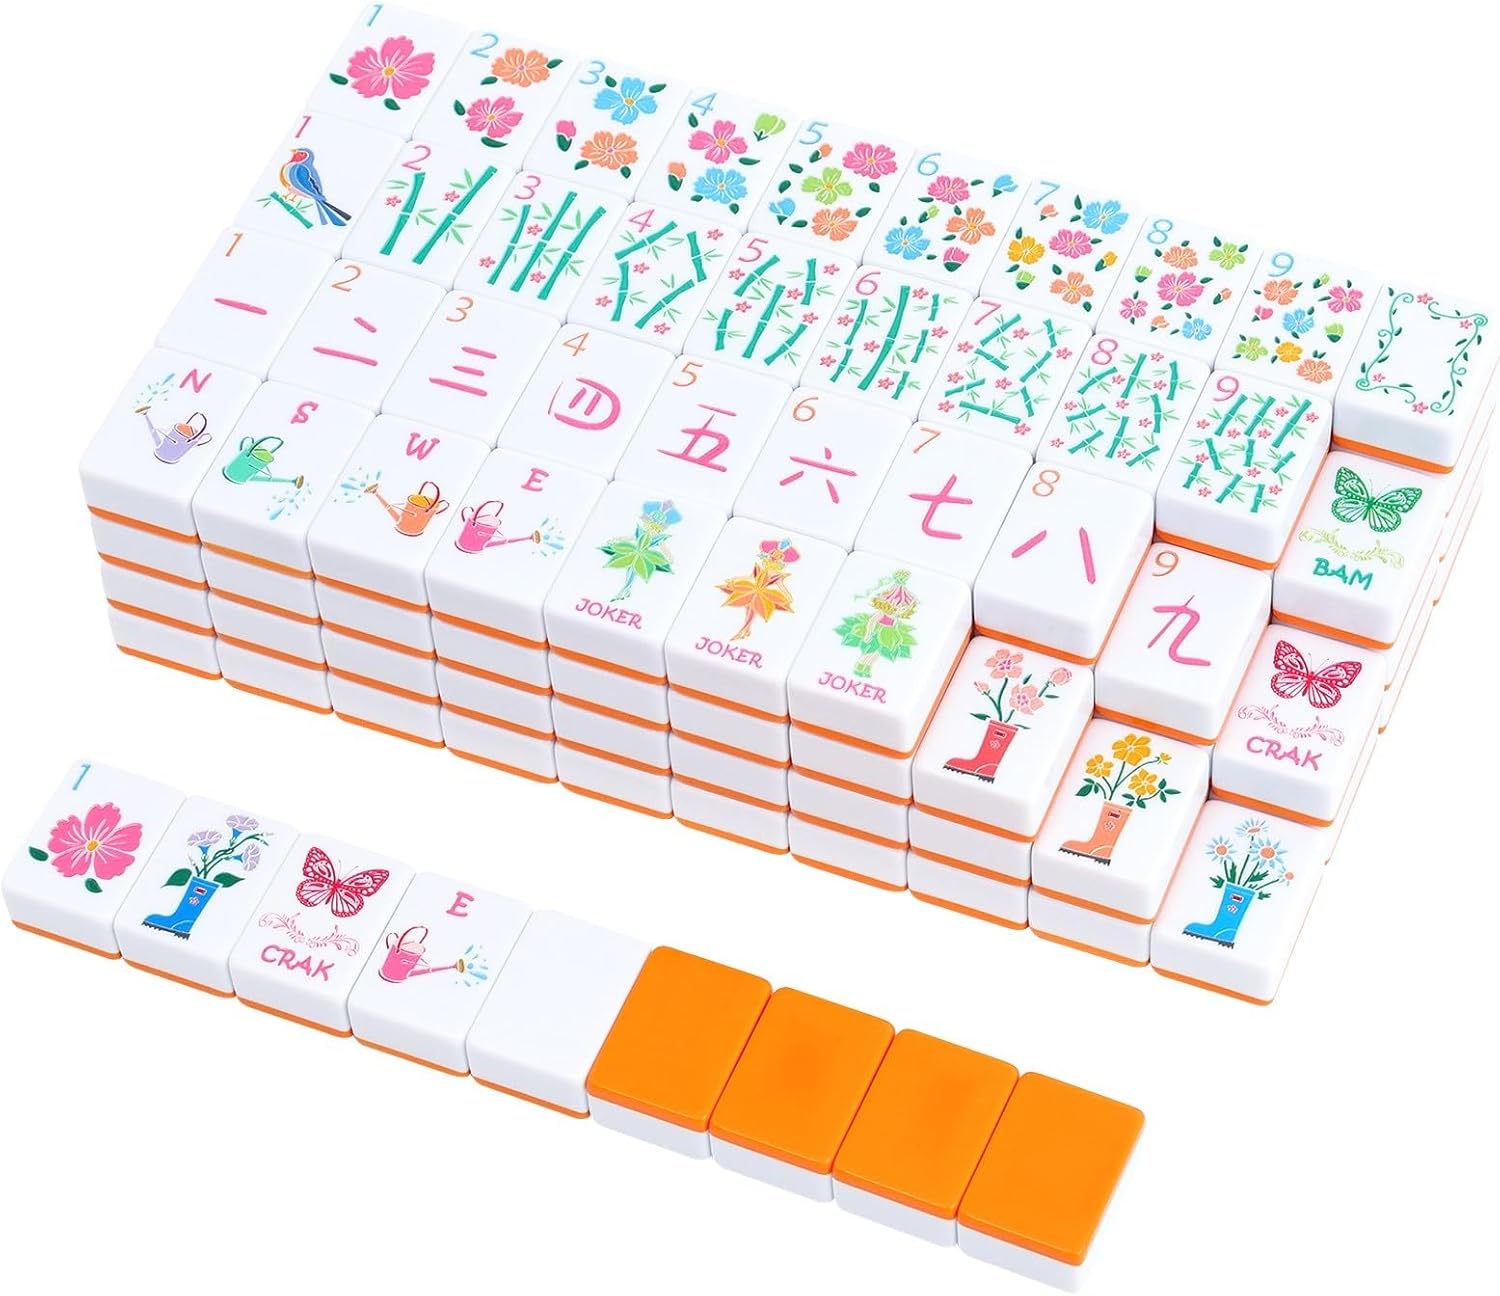
Or this one is also adorable and affordable at $69. Find it here.
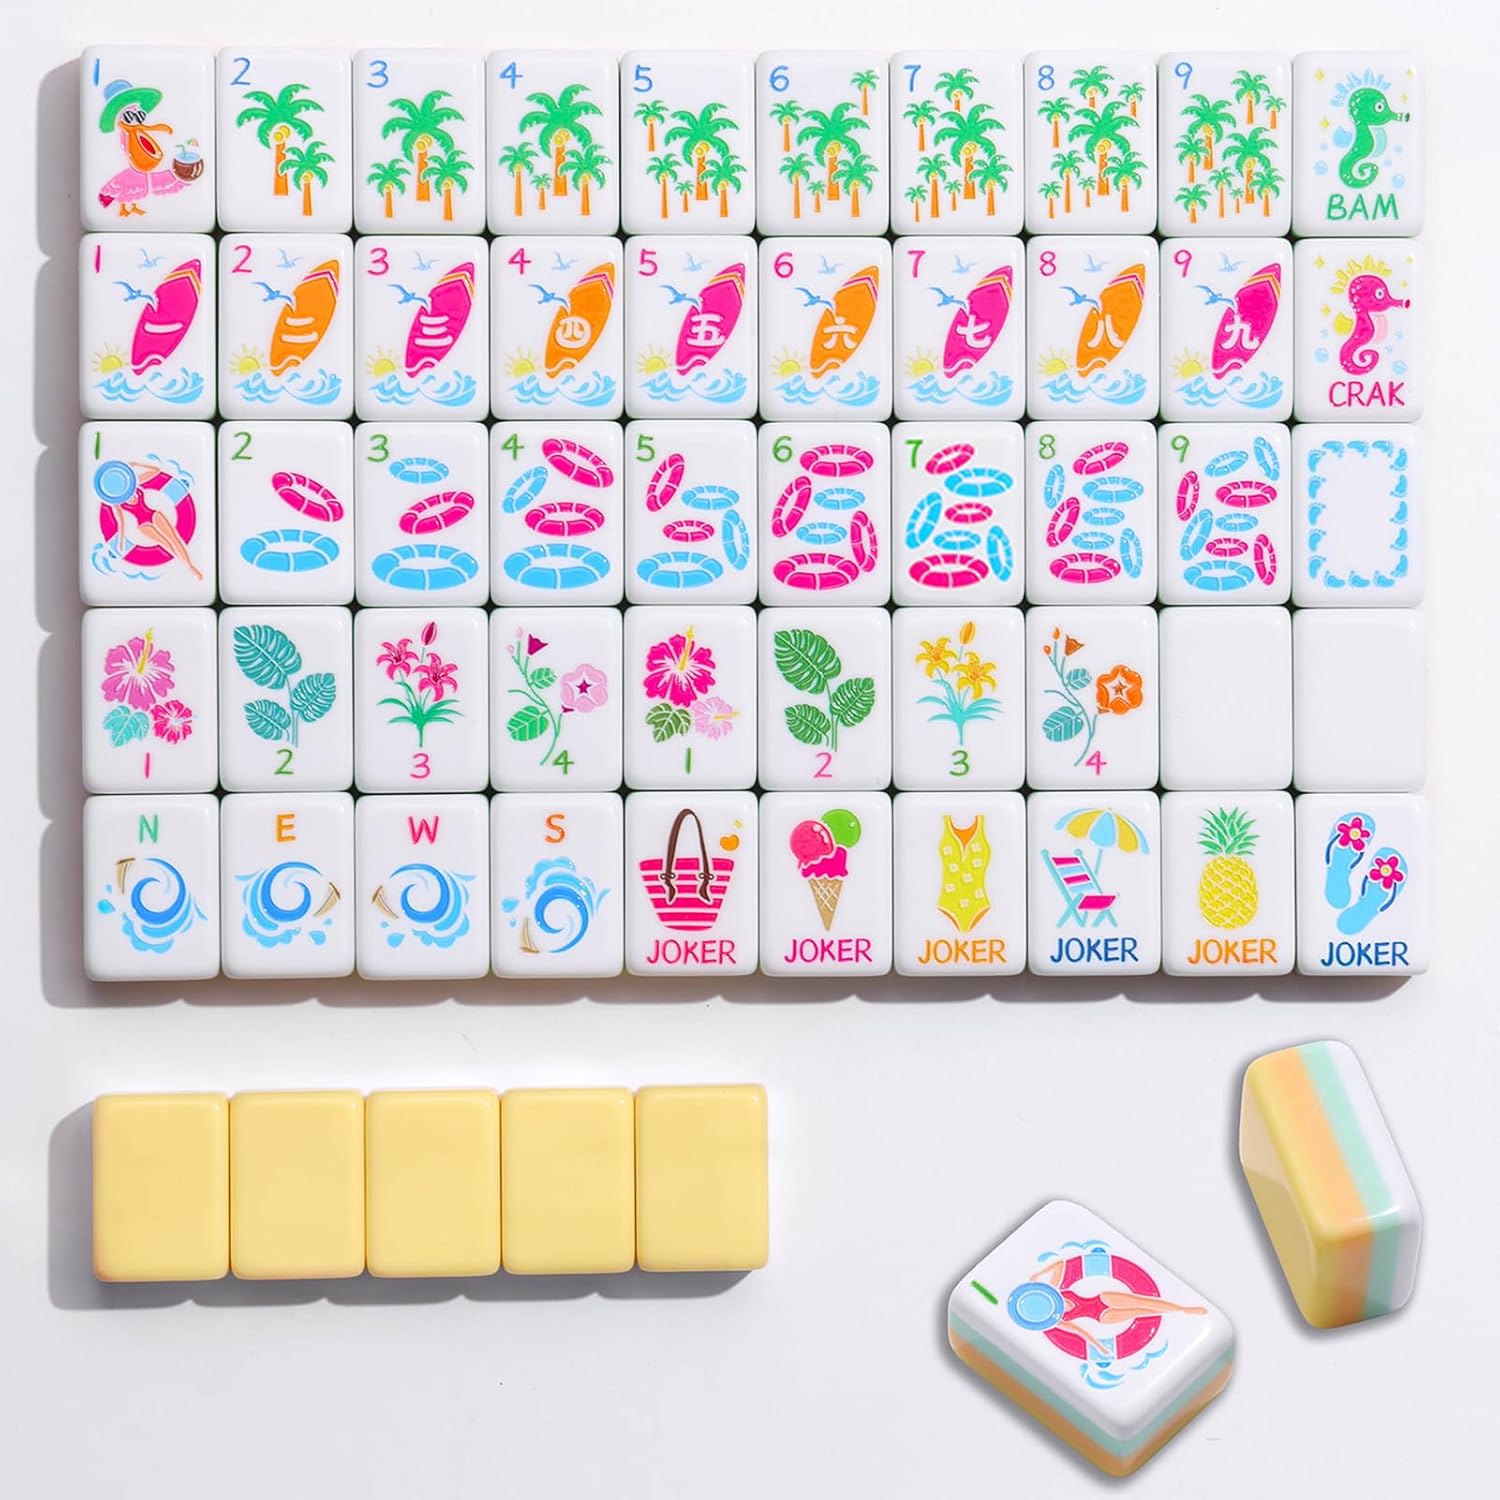
This beach theme one with multi color tiles is adorable and perfect for summer! Find it here.
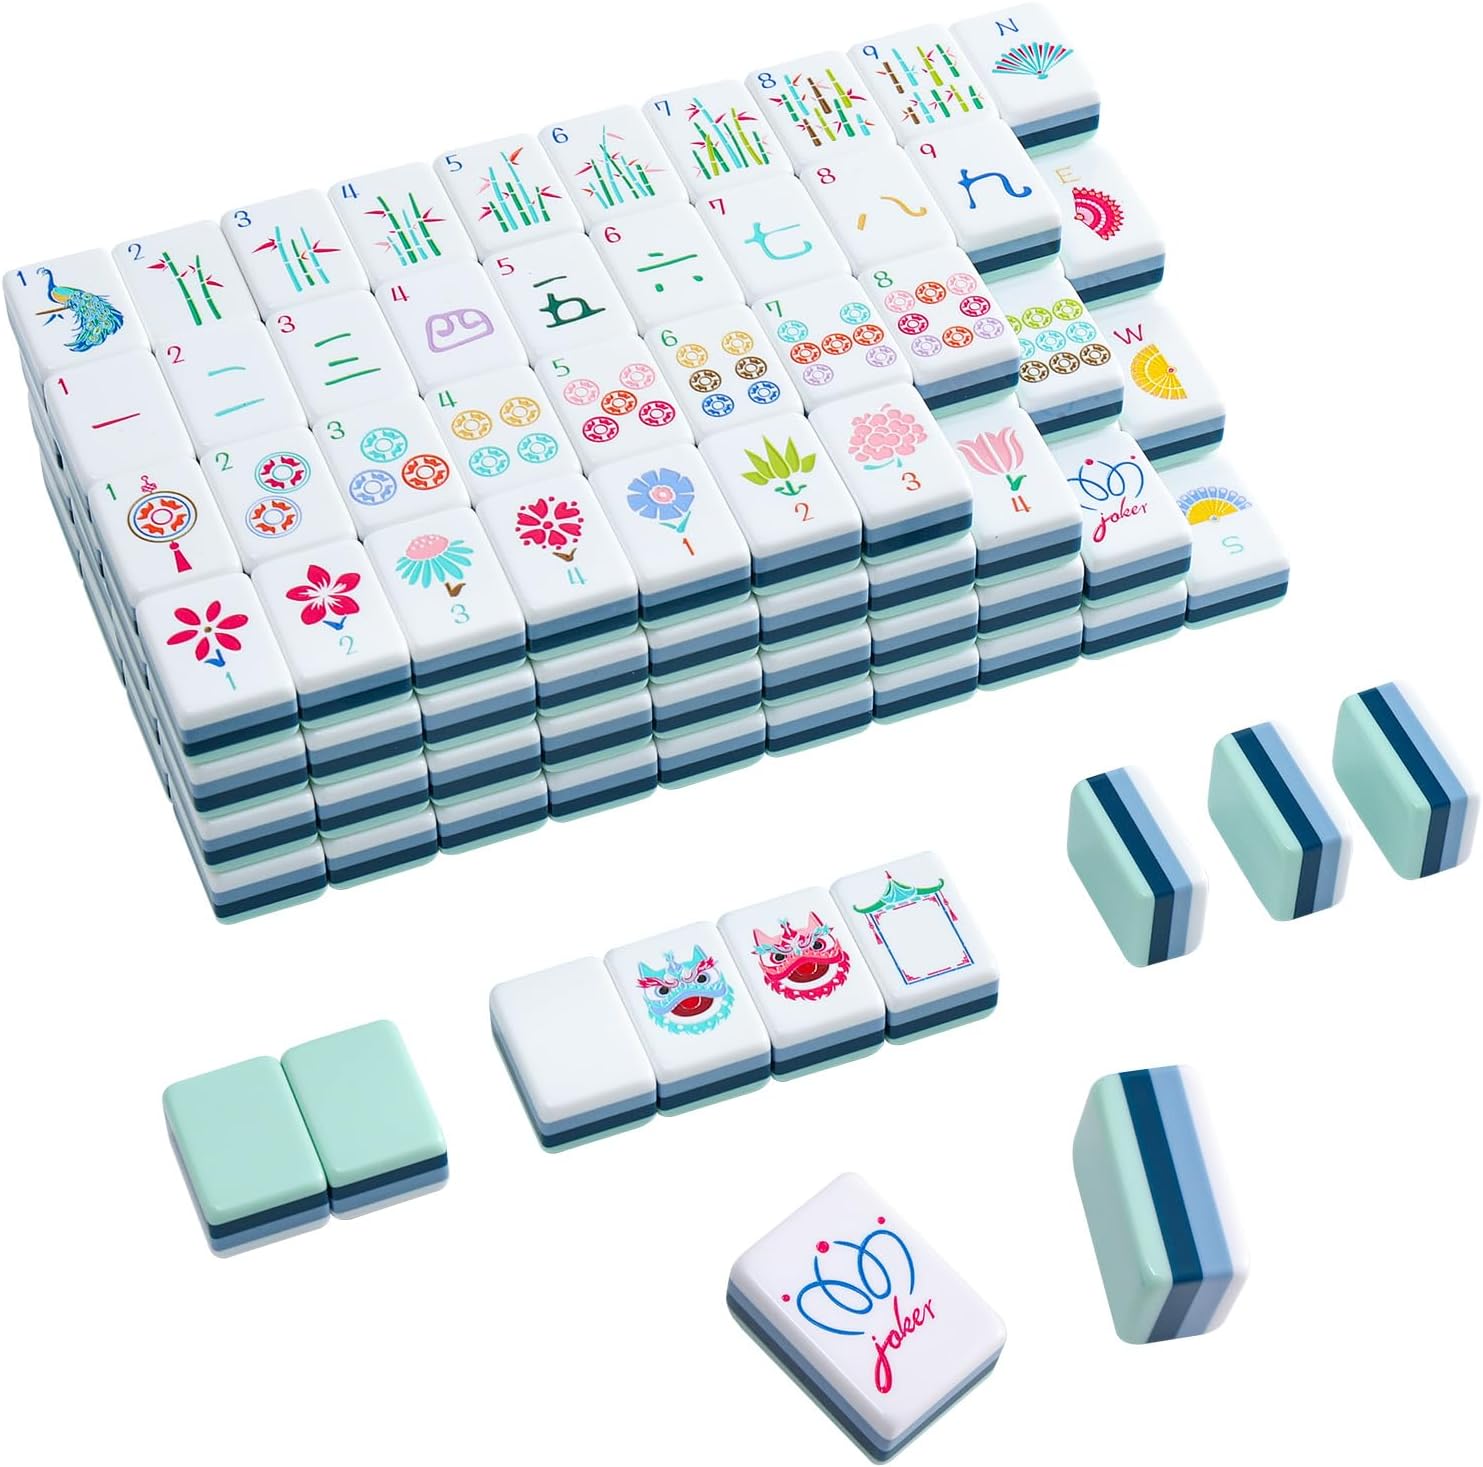
If you like blues this is an adorable set that comes in around $209. Find it here.








Leave a Reply